Delta 34-814 Instruction Manual Page 21
- Page / 28
- Table of contents
- BOOKMARKS
- INSTRUCTION MANUAL 1
- TABLE OF CONTENTS 2
- IMPORTANT SAFETY INSTRUCTIONS 2
- CALIFORNIA PROPOSITION 65 3
- GENERAL SAFETY RULES 4
- SAVE THESE INSTRUCTIONS 5
- FUNCTIONAL DESCRIPTION 6
- CARTON CONTENTS 6
- UNPACKING AND CLEANING 7
- ASSEMBLY 8
- ATTACHING MOTOR COVER 13
- OPERATION 15
- ADJUSTING THE TABLE 16
- ADJUSTING THE TABLE INSERT 17
- MACHINE USE 18
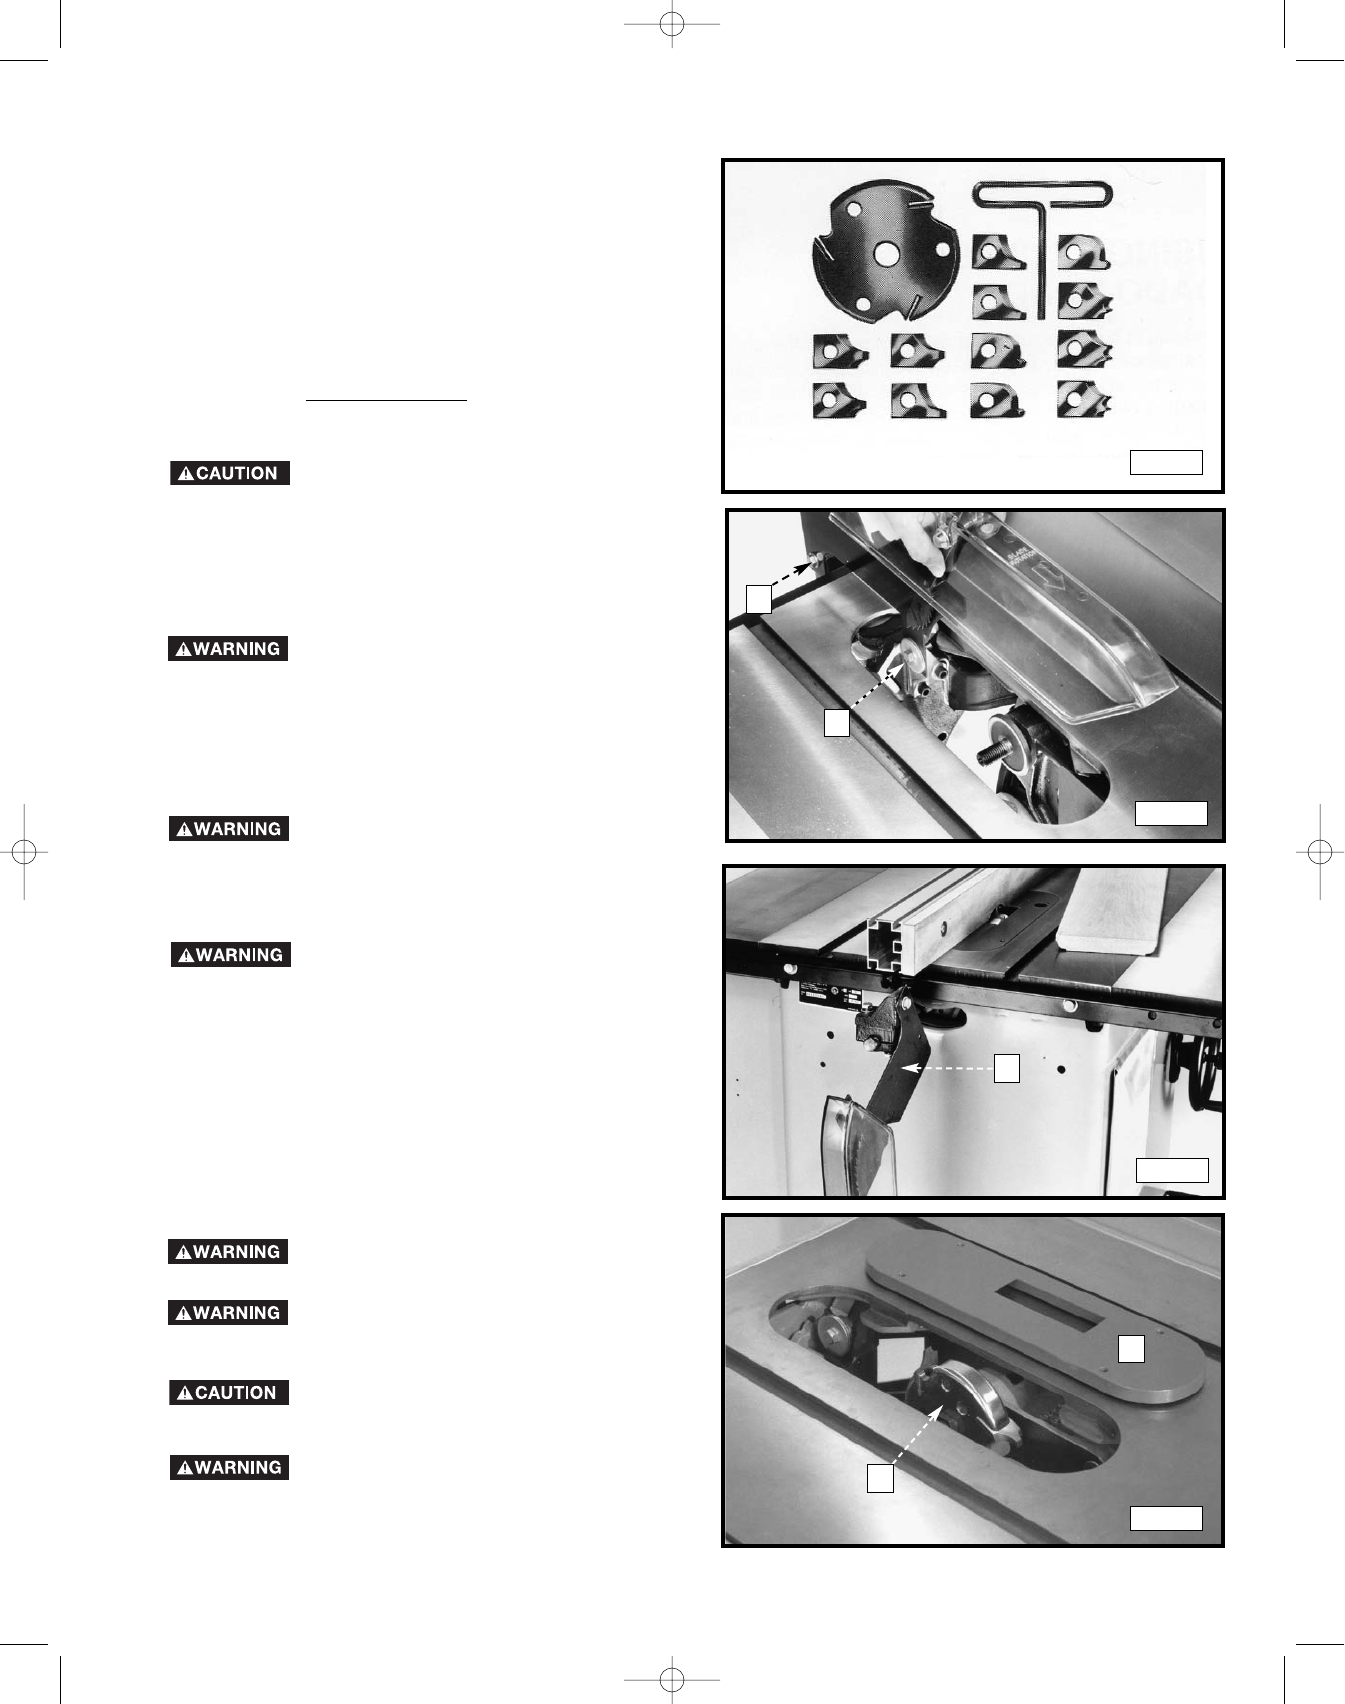
- ACCESSORY MOULDING CUTTERHEAD 21
- USING THE ACCESSORY DADO HEAD 22
- CONSTRUCTING A FEATHERBOARD 23
- PUSH STICK 24
- TROUBLESHOOTING 25
- MAINTENANCE 25
- ACCESSORIES 26
- WARRANTY 27
- • DELTA SERVICE CENTERS 28
- • DELTA) 28
Related products and manuals for Grass trimmers Delta 34-814


 (108 pages)
© 2020, manymanuals.com. All rights reserved. | 1.102 s |
 Manymanuals.com
 Manymanuals.de
 Manymanuals.fr
 Manymanuals.it
 Manymanuals.pl
 Manymanuals.cz
 Manymanuals.es
 Manymanuals-pt.com
Comments to this Manuals