Delta 36-255 Instruction Manual
Browse online or download Instruction Manual for Mitre saws Delta 36-255. Delta 36-255 Instruction manual User Manual
- Page / 21
- Table of contents
- BOOKMARKS
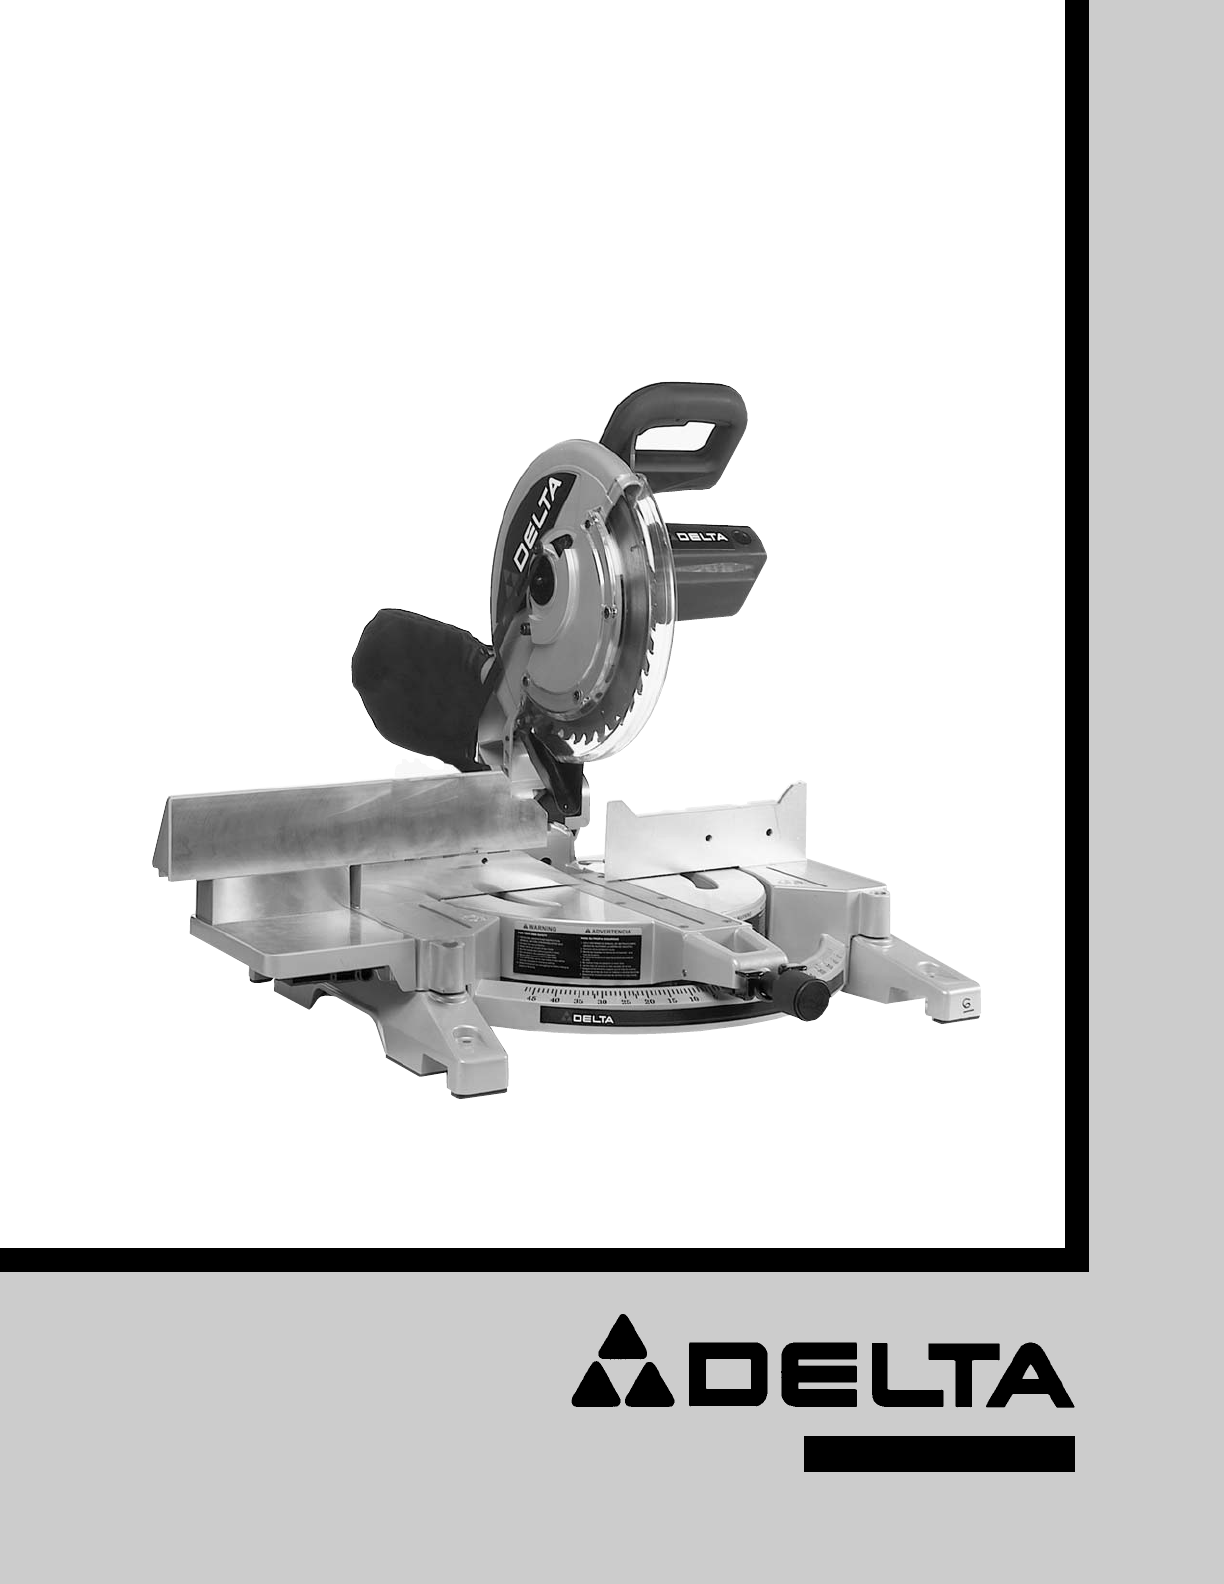
- 12" Compound Miter Saw 1
- GENERAL SAFETY RULES 2
- OPERATING INSTRUCTIONS 4
- ASSEMBLY 5
- ATTACHING DUST BAG 8
- FASTENING MACHINE TO 8
- SUPPORTING SURFACE 8
- STARTING AND STOPPING 8
- TABLE HAZARD AREA 10
- ADJUSTING SLIDING FENCE 11
- ADJUSTING CHIP DEFLECTOR 12
- POSITIVE STOPS 12
- ADJUSTING SLIDING FIT BETWEEN 13
- CUTTINGHEAD ARM AND TRUNNION 13
- ADJUSTING BLADE GUARD 14
- AUXILIARY WOOD FENCE 14
- CUTTING ALUMINUM 15
- CUTTING BOWED MATERIAL 15
- CUTTING CROWN MOULDING 15
- MAINTENANCE 17
- ACCESSORIES 18
- Two Year Limited Warranty 19
- • DELTA SERVICE CENTERS 21
- • DELTA) 21
Summary of Contents
INSTRUCTION MANUAL12" Compound Miter Saw(Model 36-255)PART NO. 899943 - 05-31-01Copyright © 2001 Delta MachineryESPAÑOL: PÁGINA 21To learn more a
1010To adjust the sliding fit between the movable table and the base,turn nut (A) Fig. 14, clockwise to increase the sliding fit(opposite to decrease
1111TILTING CUTTINGHEAD FOR BEVEL CUTTINGCAUTION: DISCONNECT THE MACHINE FROM THE POWER SOURCE.IMPORTANT: MOVE THE SLIDING FENCE TO THE LEFT TO PROVID
ADJUSTING CHIP DEFLECTOR1. DISCONNECT THE SAW FROM THE POWER SOURCE.2. A chip deflector (A) Fig. 22, is supplied to help preventscrap or cut-off piece
1313ADJUSTING SLIDING FIT BETWEEN TRUNNION AND BEVEL BRACKETAfter a long period of time, it may become necessary to adjustthe sliding fit between the
1414ADJUSTING BLADE GUARDAfter an extended period of time the movable blade guard (A)Fig. 30, might become sloppy and move erratically when thecutting
1515CUTTING ALUMINUMAluminum extrusions (aluminum screens and storm windows) can easily be cut with your miter saw. Whencutting aluminum extrusions, o
4. To make the matching halves of the inside and outside corners, simply rotate the table to the 31-5/8 degreeleft miter position. NOTE: A positive st
MAINTENANCECHANGING THE BLADEWARNING: USE ONLY CROSS-CUTTING SAW BLADES. DO NOT USE BLADES WITH DEEP GULLETS ASTHEY CAN DEFLECT AND CONTACT GUARD1. Us
KEEP TOOL CLEANPeriodically blow out all air passages with dry compressed air. Clean all plastic parts with a soft damp cloth.NEVER use solvents to cl
1919Delta Building Trades and Home Shop MachineryTwo Year Limited WarrantyDelta will repair or replace, at its expense and at its option, any Delta ma
2GENERAL SAFETY RULESWoodworking can be dangerous if safe and proper operating procedures are not followed. As with allmachinery, certain hazards are
2020NOTES
The following are trademarks of PORTER-CABLE•DELTA (Las siguientes son marcas registradas de PORTER-CABLE S.A.): BAMMER®,INNOVATION THAT WORKS®, JETST
3ADDITIONAL SAFETY RULES FOR COMPOUND MITER SAWS1. WARNING: USE ONLY CROSS-CUTTING SAW BLADES. DO NOT USE BLADES WITH DEEP GULLETS ASTHEY CAN DEFLECT
44REPLACEMENT PARTSWhen servicing, use only identical replacement parts.POLARIZED PLUGS: To reduce the risk of electric shock, this equipment has a po
UNPACKING1. Carefully remove the machine from the carton.Retain all packing materials until you have inspected andsatisfactorily operated the machine.
66MOVING TABLE TO THE 0 DEGREE CUT-OFF POSITION1. Rotate locking knob (A) Fig. 6 counter-clockwise as far as it will go. Depress lever (B) and rotate
774. Attach the fence slide support (E) Fig. 7D, to the extension table (B) by using the two 1 1/4” long hex headscrews, 5/16” lockwashers and 5/16” f
9. Position lock handle (M) Fig. JI, on studand replace screw and spring (L) that wereremoved in STEP 7. NOTE: Lock handle (M) isspring-loaded and can
99WARNING: A TURNING SAW BLADE CAN BE DANGEROUS. AFTER COMPLETING CUT, RELEASESWITCH TRIGGER (A) FIG. 10, TO ACTIVATE BLADE BRAKE. KEEP CUTTINGHEAD DO
Related products and manuals for Mitre saws Delta 36-255
 (25 pages)
(23 pages)
(28 pages)
(32 pages)
(17 pages)
(28 pages)
(23 pages)
(25 pages)
(23 pages)
(28 pages)
(32 pages)
(17 pages)
(28 pages)
(23 pages)
© 2020, manymanuals.com. All rights reserved. | 0.667 s |
 Manymanuals.com
 Manymanuals.de
 Manymanuals.fr
 Manymanuals.it
 Manymanuals.pl
 Manymanuals.cz
 Manymanuals.es
 Manymanuals-pt.com
Comments to this Manuals