Delta 14-650 Instruction Manual
Browse online or download Instruction Manual for Power tools Delta 14-650. Delta 14-650 Instruction manual User Manual
- Page / 18
- Table of contents
- BOOKMARKS
- Hollow Chisel 1
- Mortiser 1
- SAFETY RULES 2
- ADDITIONAL SAFETY RULES FOR 3
- HOLLOW CHISEL MORTISERS 3
- UNPACKING AND CLEANING 4
- ASSEMBLY INSTRUCTIONS 5
- ASSEMBLING TABLE 6
- ASSEMBLING FENCE 6
- AND HOLDDOWN 6
- ASSEMBLING TOOL 8
- AND CHISEL HOLDER 8
- POWER CONNECTIONS 9
- GROUNDING INSTRUCTIONS 9
- ASSEMBLING CHISEL AND BIT 10
- RAISING AND 12
- LOWERING THE HEAD 12
- LOCKING SWITCH IN 12
- THE “OFF” POSITION 12
- OPERATION 14
- ROTATING COLUMN 180 DEGREES 15
- USING AUXILIARY WOOD FENCE 15
- Two Year Limited Warranty 18
Summary of Contents
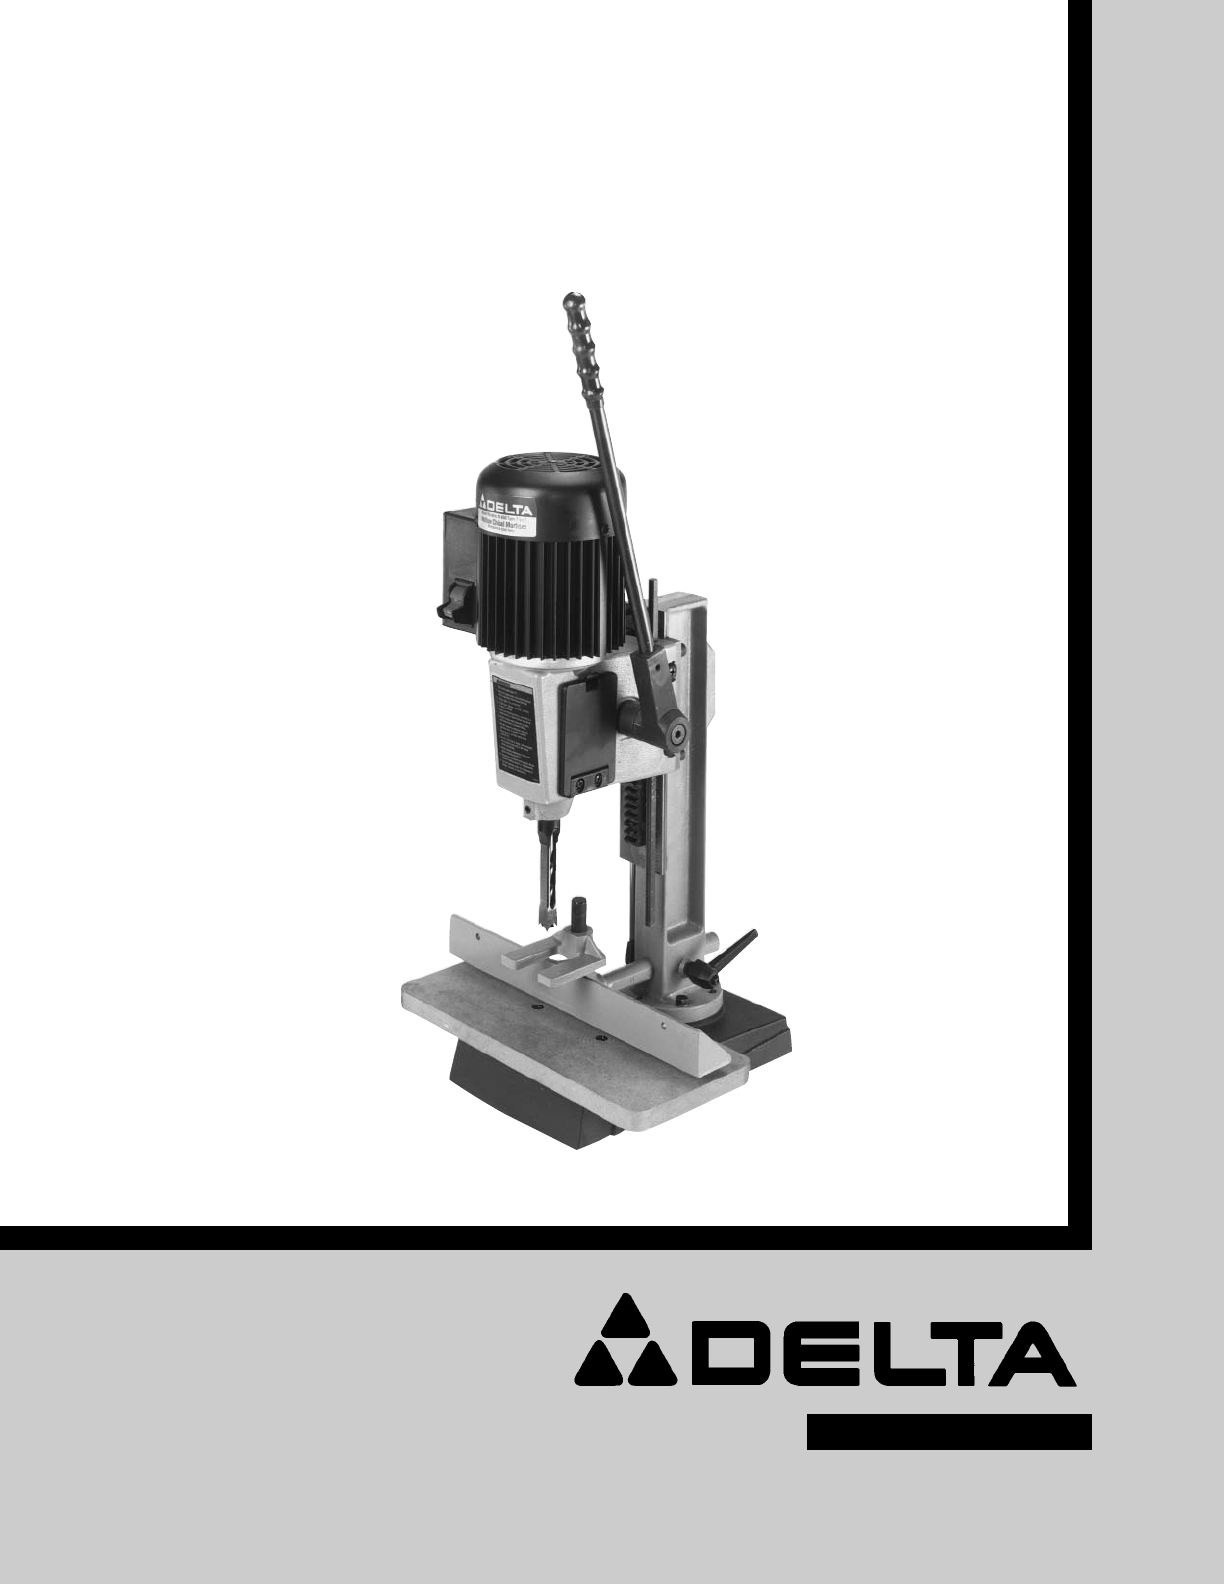
INSTRUCTION MANUALHollow ChiselMortiser(Model 14-650)PART NO. 900651 (011)Copyright © 2001 Delta MachineryESPAÑOL: PÁGINA 19To learn more about DELTA
10EXTENSION CORDSUse proper extension cords. Make sure your extensioncord is in good condition and is a 3-wire extension cordwhich has a 3-prong groun
11Fig. 236. The flat portion of the bit should be adjusted to aminimum of 1/16" away from the bottom of the chisel, asshown in Fig. 25. For certa
12OPERATING CONTROLS AND ADJUSTMENTSFig. 26Fig. 27Fig. 28RAISING ANDLOWERING THE HEADThe head (A) Fig. 28, is raised and lowered by means ofthe lever
13Fig. 29Fig. 30Fig. 31ADJUSTING CHISELPARALLEL TO WORKPIECEThe chisel (A) Fig. 31, can be adjusted parallel to theworkpiece by loosening screw (B) an
14Fig. 32ADJUSTING SLIDINGFIT BETWEEN HEADAND COLUMNA dovetail gib (A) Fig. 32, is provided on the rear of thehead to insure a good sliding fit betwee
15USING AUXILIARY WOOD FENCEFig. 35When mortising extra high workpieces (A) Fig. 35, anauxiliary fence (B) can be fastened to the fence (C) withwood s
16USING BITS WITH EXTRA LONG SHANKSFig. 38Fig. 37When using bits with extra long shanks, it will benecessary to remove the extension (A) Fig. 37. This
17NOTES
18PARTS, SERVICE OR WARRANTY ASSISTANCEDelta Building Trades and Home Shop MachineryTwo Year Limited WarrantyDelta will repair or replace, at its expe
2SAFETY RULESWoodworking can be dangerous if safe and proper operating procedures are not followed. As with all machinery, thereare certain hazards in
ADDITIONAL SAFETY RULES FORHOLLOW CHISEL MORTISERS31. DO NOT operate your mortiser until it is completelyassembled and installed according to the inst
4A - Mortising MachineB - Hydraulic CylinderC - Raising and Lowering HandleD - Special Screw (for raising and lowering handle)E - Spring (for raising
5ASSEMBLY INSTRUCTIONSWARNING: FOR YOUR OWN SAFETY, DO NOT CONNECT THE MACHINE TO THE POWER SOURCE UNTIL THEMACHINE IS COMPLETELY ASSEMBLED AND YOU HA
6Fig. 6Fig. 7Fig. 8ASSEMBLING TABLE1. Assemble the table (A) Fig. 7, to the base using thetwo M6 x 35mm flat head screws (B) and T-nuts (C).Insert the
7Fig. 9Fig. 10Fig. 11Fig. 122. Thread stud (D) Fig. 9, into hole on side of column,as shown. Do not thread stud (D) all the way into hole atthis time.
8Fig. 13Fig. 14Fig. 157. Assemble the holddown (H) Fig. 13, onto bar (F) asshown, and tighten set screw (J) against flat on bar.ASSEMBLING TOOLAND CHI
9CONNECTING MORTISER TO POWER SOURCEPOWER CONNECTIONSA separate electrical circuit should be used for your tools. This circuit should not be less than
Related products and manuals for Power tools Delta 14-650
 (14 pages)
(17 pages)
(24 pages)
(21 pages)
(23 pages)
(14 pages)
(17 pages)
(24 pages)
(21 pages)
(23 pages)

 (76 pages) (21 pages)
(16 pages)
(32 pages)
(16 pages)
(16 pages)
(15 pages)
(16 pages)
(17 pages)
(27 pages)
(23 pages)
(28 pages)
(18 pages)
(29 pages)
(32 pages)
(76 pages) (21 pages)
(16 pages)
(32 pages)
(16 pages)
(16 pages)
(15 pages)
(16 pages)
(17 pages)
(27 pages)
(23 pages)
(28 pages)
(18 pages)
(29 pages)
(32 pages)
© 2020, manymanuals.com. All rights reserved. | 1.450 s |
 Manymanuals.com
 Manymanuals.de
 Manymanuals.fr
 Manymanuals.it
 Manymanuals.pl
 Manymanuals.cz
 Manymanuals.es
 Manymanuals-pt.com
Comments to this Manuals