Delta 50-770 Instruction Manual
Browse online or download Instruction Manual for Power tools Delta 50-770. Delta 50-770 Instruction manual User Manual
- Page / 14
- Table of contents
- BOOKMARKS
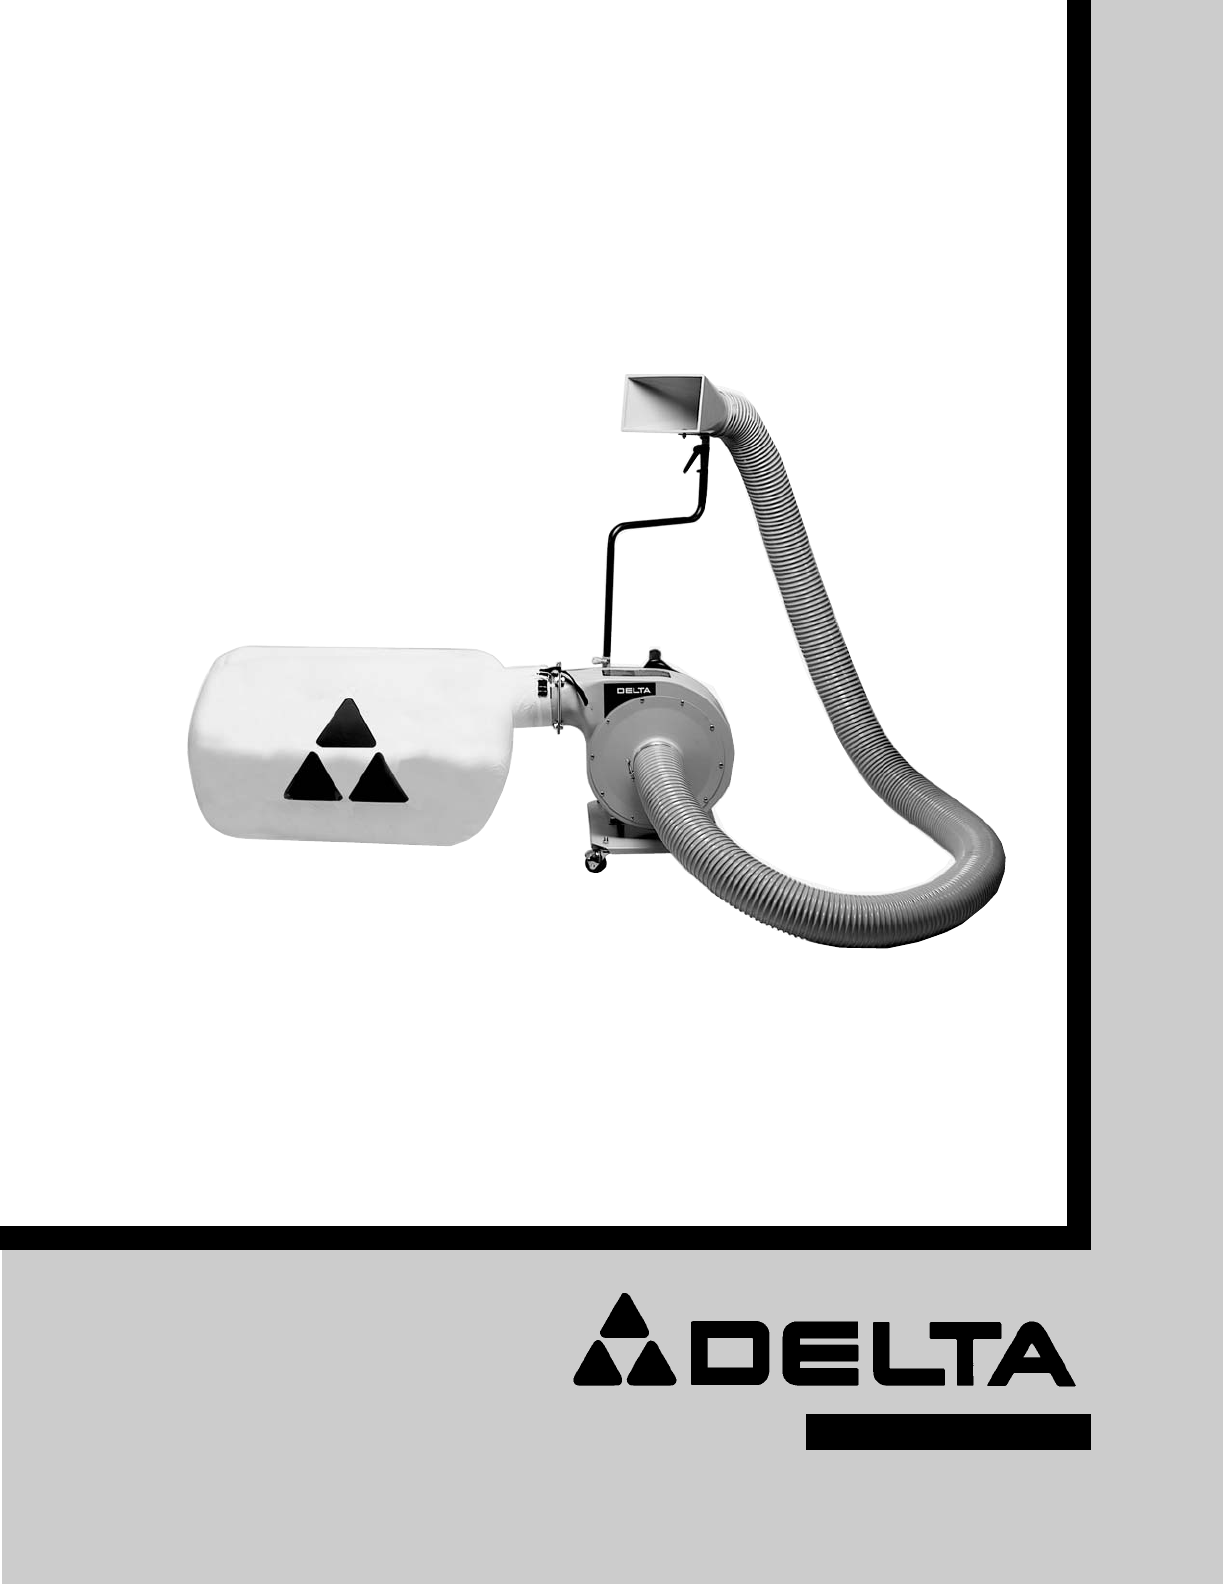
- Portable Single-Stage 1
- Dust Collector 1
- GENERAL SAFETY RULES 2
- IMPORTANT SAFETY RULES FOR 3
- DUST COLLECTORS 3
- WARNING: 3
- UNPACKING AND CLEANING 4
- ASSEMBLY 5
- ASSEMBLING DUSTPORT 6
- TUBE AND CONNECTOR TO 6
- DUST COLLECTOR BODY 6
- ASSEMBLING 8
- VACUUM HOSE TO 8
- POWER CONNECTIONS 9
- MOTOR SPECIFICATIONS 9
- GROUNDING INSTRUCTIONS 9
- EXTENSION CORDS 10
- STARTING AND STOPPING 11
- DUST COLLECTOR 11
- LOCKING SWITCH IN 11
- THE “OFF” POSITION 11
- OPERATIONS 12
- MAINTENANCE 13
- ACCESSORIES 14
Summary of Contents
INSTRUCTION MANUALPortable Single-StageDust Collector(Model 50-770)PART NO. 902117 (015)Copyright © 2001 Delta MachineryESPAÑOL: PÁGINA 15To learn mor
10Fig. 19Fig. 20GROUNDED OUTLET BOXCURRENTCARRYINGPRONGSGROUNDING BLADEIS LONGEST OF THE 3 BLADESGROUNDED OUTLET BOXGROUNDING MEANSADAPTERFig. 21120 V
11OPERATING CONTROLS & ADJUSTMENTSWARNING: FOR OPERATOR SAFETY, MAKECERTAIN THE DUST INTAKE PORT IS COVEREDWITH THE VACUUM HOSE BEFORE OPERATINGTH
12OPERATIONSThis versatile dust collector is light, compact and caneasily be transported to a variety of locations for use inand out of the workshop.
13TRANSPORTATION ANDSTORAGE1. The dust collector features a convenient carryinghandle with rubber grip (A) Fig. 29, which allows the unitto be carried
14Printed in U.S.A.PARTS, SERVICE OR WARRANTY ASSISTANCEAll Delta Machines and accessories are manufactured to high quality standards and are serviced
2GENERAL SAFETY RULESWoodworking can be dangerous if safe and proper operating procedures are not followed. As with all machinery, thereare certain ha
3IMPORTANT SAFETY RULES FORDUST COLLECTORSWARNING:Basic precautionsshould always be followed when using your dustcollector. To reduce the risk of inju
4UNPACKING AND CLEANINGCarefully unpack the tool and all loose items from the shipping container(s). Remove the protective coating from allunpainted s
5ASSEMBLYASSEMBLING WHEELCASTERS 1. Remove the hex nut and lockwasher from each ofthe four wheel casters.2. Place the dust collector on its side.2. In
6ASSEMBLING DUSTPORTTUBE AND CONNECTOR TODUST COLLECTOR BODY1. Place tube clamp (A) Fig. 7 on the lower supporttube holder (B).2. Insert the tube supp
74. Align the two holes in the intake support angle brace(A) Fig. 10 with the two holes in the intake funnel (B).5. Fasten the intake support angle br
8ASSEMBLINGVACUUM HOSE TODUST COLLECTOR1. Place the intake cap holder (D) on the dust collectoras shown in Fig. 15. NOTE: DO NOT COVER THEINTAKE PORT
9Fig. 17 Fig. 18Fig. 19Fig. 203. Place the remaining hose clamp (A) Fig. 17, around the other end of vacuum hose (B) and slide hose (B) onto intakefun
Related products and manuals for Power tools Delta 50-770
 (15 pages)
(16 pages)
(12 pages)
(17 pages)
(20 pages)
(21 pages)
(15 pages)
(16 pages)
(12 pages)
(17 pages)
(20 pages)
(21 pages)
 (16 pages)
(27 pages)
(12 pages)
(16 pages)
(27 pages)
(12 pages)
 (44 pages)
(43 pages)
(56 pages)
(44 pages)
(43 pages)
(56 pages)
© 2020, manymanuals.com. All rights reserved. | 2.097 s |
 Manymanuals.com
 Manymanuals.de
 Manymanuals.fr
 Manymanuals.it
 Manymanuals.pl
 Manymanuals.cz
 Manymanuals.es
 Manymanuals-pt.com
Comments to this Manuals