Delta 900585 Instruction Manual
Browse online or download Instruction Manual for Power tools Delta 900585. Delta 900585 Instruction manual User Manual
- Page / 16
- Table of contents
- BOOKMARKS
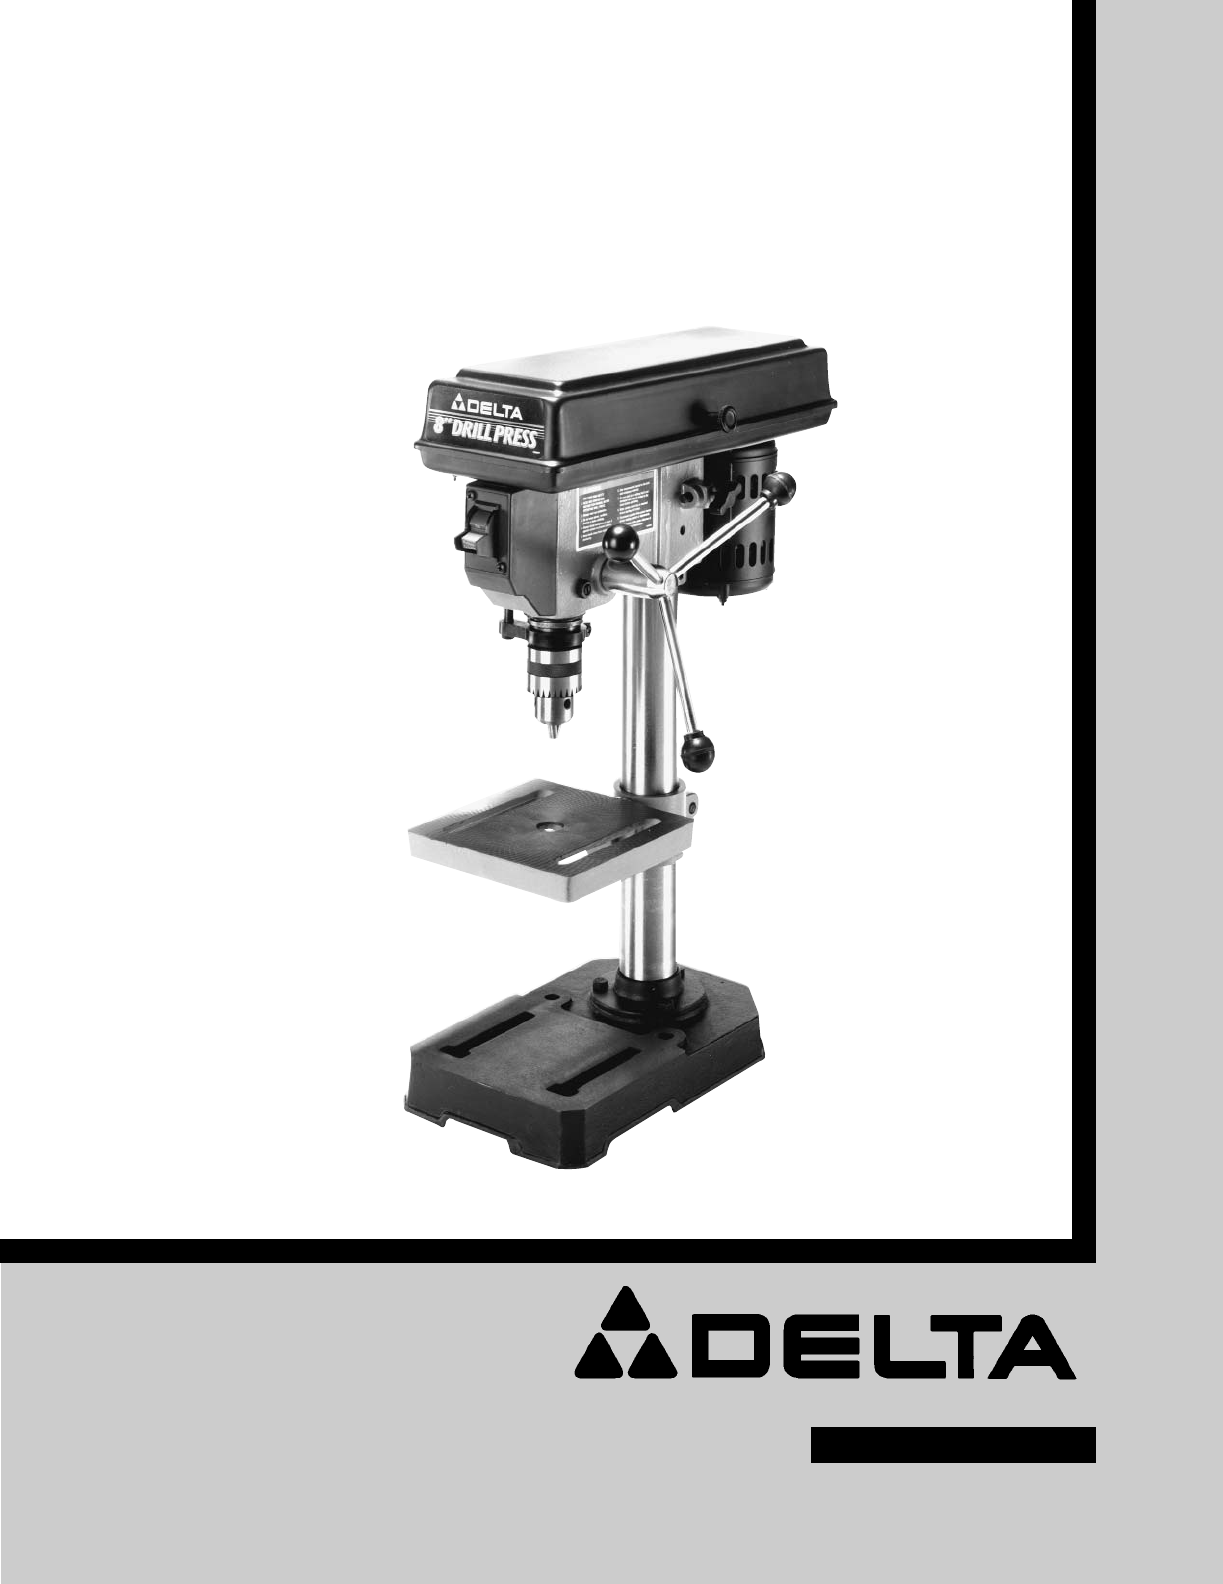
- 8" Drill Press 1
- SAFETY RULES 2
- SAVE THESE INSTRUCTIONS 3
- ADDITIONAL SAFETY RULES 3
- FOR DRILL PRESSES 3
- UNPACKING 4
- CLEANING 5
- ASSEMBLING THE DRILL PRESS 5
- FASTENING DRILL PRESS TO 7
- SUPPORTING SURFACE 7
- EXTENSION CORDS 7
- MOTOR SPECIFICATIONS 8
- GROUNDING INSTRUCTIONS 8
- STARTING AND 9
- STOPPING DRILL PRESS 9
- LOCKING SWITCH IN 9
- THE “OFF” POSITION 9
- TABLE ADJUSTMENTS 9
- SPINDLE SPEEDS 10
- DRILLING HOLES 12
- TO DEPTH 12
- CORRECT DRILLING SPEEDS 13
- OPERATION 13
- DRILLING METAL 14
- Two Year Limited Warranty 16
Summary of Contents
INSTRUCTION MANUAL8" Drill Press(Model 11-900)PART NO. 900585 (011)Copyright © 2001 Delta MachineryESPAÑOL: PÁGINA 17To learn more about DELTA MA
103. Fig. 22, illustrates the table alignment pin (B)removed. Loosen table locking bolt (D), tilt table to thedesired angle and tighten bolt (D). When
11Fig. 27CHANGING SPEEDS AND ADJUSTING BELT TENSIONNOTE: A BELT POSITIONING SPEED CHART (E) FIG. 27, IS CONVENIENTLY LOCATED ON THE INSIDE TOPCOVER OF
12DRILLING HOLESTO DEPTHWhere a number of holes are to be drilled to exactly thesame depth, the stop nuts on the threaded stop rod areused as follows:
131. Insert smooth end of drill bit (A) Fig. 30, as far as itwill go into the chuck (B), or up to the flutes for smallbits.2. Make certain that the dr
14BORING IN WOODTwist drills, although intended for metal drilling, may also be used for boring holes in wood. However, machine spurbits are generally
15NOTES
16Delta Building Trades and Home Shop MachineryTwo Year Limited WarrantyDelta will repair or replace, at its expense and at its option, any Delta mach
2SAFETY RULESWoodworking can be dangerous if safe and proper operating procedures are not followed. As with all machinery, thereare certain hazards in
31. DO NOT operate your drill press until it iscompletely assembled and installed according to theinstructions.2. IF YOU ARE NOT thoroughly familiar w
4UNPACKINGYour drill press is shipped complete in one container. Carefully unpack the drill press and allloose items from the container. Figure 2 illu
5CLEANINGRemove the protective coating from the machined surfaces of the drill press and all loose items. This coating may beremoved with a soft cloth
6Fig. 7Fig. 8Fig. 9Fig. 104. Place the drill press head (F) Fig. 7, onto the column(A) as far as it will go. Align head to table and base andtighten t
7Use proper extension cords. Make sure your extensioncord is in good condition. When using an extensioncord, be sure to use one heavy enough to carry
8Fig. 16Fig. 17GROUNDED OUTLET BOXCURRENTCARRYINGPRONGSGROUNDING BLADEIS LONGEST OF THE 3 BLADESGROUNDED OUTLET BOXGROUNDING MEANSADAPTERMOTOR SPECIFI
9Fig. 18Fig. 19Fig. 20Fig. 21STARTING ANDSTOPPING DRILL PRESSThe switch (A) Fig. 18, is located on the front of the drillpress head. To turn the drill
Related products and manuals for Power tools Delta 900585
 (17 pages)
(27 pages)
(23 pages)
(28 pages)
(18 pages)
(29 pages)
(32 pages)
(17 pages)
(24 pages)
(16 pages)
(20 pages)
(23 pages)
(13 pages)
(28 pages)
(40 pages)
(21 pages)
(10 pages)
(16 pages)
(17 pages)
(27 pages)
(23 pages)
(28 pages)
(18 pages)
(29 pages)
(32 pages)
(17 pages)
(24 pages)
(16 pages)
(20 pages)
(23 pages)
(13 pages)
(28 pages)
(40 pages)
(21 pages)
(10 pages)
(16 pages)
© 2020, manymanuals.com. All rights reserved. | 1.235 s |
 Manymanuals.com
 Manymanuals.de
 Manymanuals.fr
 Manymanuals.it
 Manymanuals.pl
 Manymanuals.cz
 Manymanuals.es
 Manymanuals-pt.com
Comments to this Manuals