Delta A Series User Manual Page 1
Browse online or download User Manual for Recording Equipment Delta A Series. 17 Series 17 Series 17 Series 17 Series 68882
- Page / 42
- Table of contents
- BOOKMARKS
- 17 Series 1
- 17 Series 17 Series 1
- Delta HDF Limited Warranty 2
- Back to back Installation 3
- Clean and Care 8
- 68882 Rev. G 10
- Instalación 11
- Mantenimiento 16
- 17 Séries 17
- Installation dos à dos 19
- Installation 19
- Instructions de nettoyage 24
- Maintenance 24
- Models / Modelos / Modèles 26
- Models / Modelos / Modèles 29
- Notes / Notas / Notes 41
- Delta Faucet Company 42
- Product Service 42
- 55 E. 111th Street 42
- Indianapolis, IN 46280 42
Summary of Contents
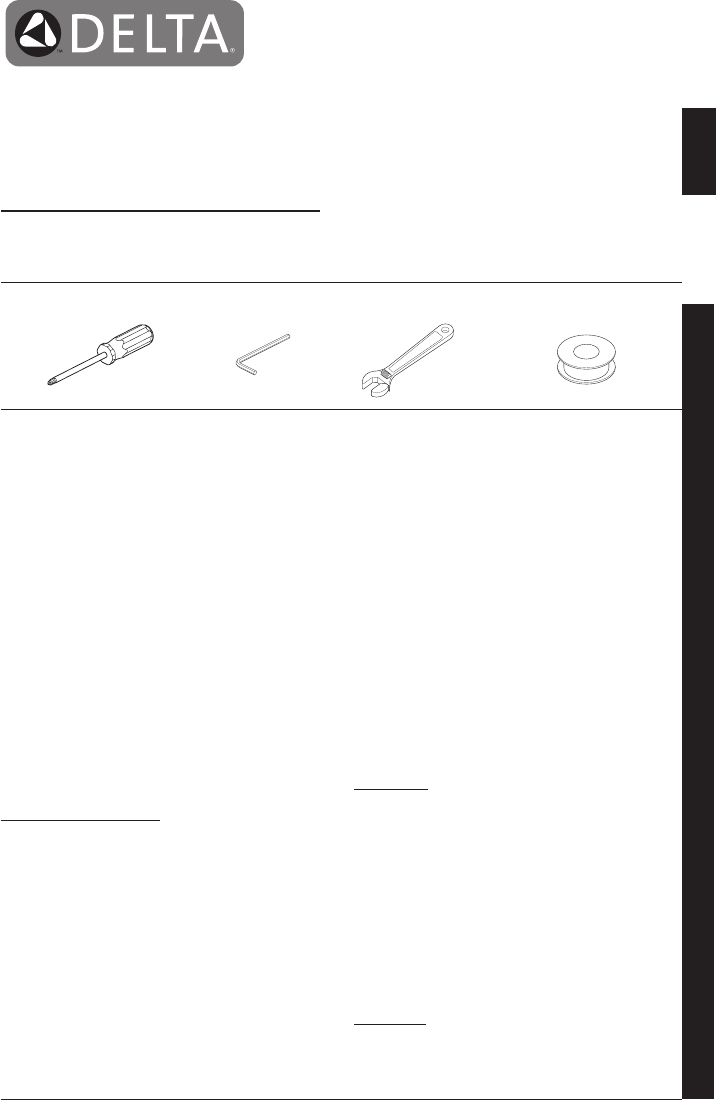
MultiChoice® Valve TrimInstallation InstructionsOwners Manual17 SeriesASME A112.18.1 / CSA B125.1Write purchased model number here.TEFLON You May Need
Garantía Limitada De Por Vida de la Llave y su AcabadoPiezas y acabadoTodas las piezas (excepto las piezas electrónicas y laspilas) y los acabados de
Instalación1Instalación del CartuchoCierre los suministros de agua. Quite lacubierta (1), la tuerca tapa (2) y la tapa deprueba (3). Si no es para ins
Instalación2Instalación de la Cabeza de la Regadera y el Surtidor de la BañeraPARA LAS INSTALACIONES DE LAS CABEZASDE REGADERA: Conecte la toma de sal
Instalación52Instalación de la Cabeza de la Regadera y el Surtidor de la BañeraPARA LA INSTALACIÓN DEL SURTIDOR DE LA BACERA: Refiérase a las instrucci
Instalación3Instalación FinalLa instalación de la roseta para losmodelos T17053, T17253, T17453, T17067, T17267 y T17467.Deslice el ar
4Instalación y Ajuste del Tope que Limita la RotaciónB.Instalación y Ajuste del Tope que Limita laRotación Coloque la perilla para el control dela tem
Limpieza y Cuidado de su LlaveTenga cuidado al ir a limpiar este producto.Aunque su acabado es sumamente durable,puede ser afectado por agentes de lim
Instructions d’installationFinition de la soupapeMultiChoice®Guide d’utilisation17 Séries ASME A112.18.1 / CSA B125.1Inscrivez le numéro de modèle ici
Garantie à vie limitée des robinets et de leurs finisPièces et finis Toutes les pièces (à l’exception des composantsélectroniques et des piles) et tous
C.B. Installation dos à dosInstallation normale(Non modifiée)InstallationInverséeEau FroidesEau ChaudeInstallation1Installation de la cartouche.A.Int
Lifetime Faucet and Finish Limited WarrantyParts and FinishAll parts (other than electronic parts and batteries) andfinishes of this Delta® faucet are
Installation2Installation de la pomme de douche et du bec de baignoireINSTALLATION DE LA POMME DE DOUCHE : Raccordez la sortie supérieure (1) au tuyau
Installation52Installation de la pomme de douche et du bec de baignoireINSTALLATION DU BEC DE BAIGNOIRE : Consultez les instructions d’installation fo
Installation36Installation des pièces de finitionA.Faites glisser le joint torique (1) sur lacartouche et l’écrou à portée sphérique(2). Le joint sert
Installation4Installation et réglage de la butée anti-échaudageB.Placez le bouton de réglage de température(1) sur la manette de réglage de débit etto
Instructions de nettoyageIl faut le nettoyer avec soin. Même si sonfini est extrêmement durable, il peut êtreabîmé par des produits fortement abrasifso
58045, 58064, & 58065 Models / Modelos / Modèles958065RP64024▲ShowerheadCabeza de RogadoraPomme de DoucheRP64021Hose & GasketsManguera y Empaq
T17030, T17130, T17230, T17230-H2O, T17430 & T17430-H2O Models / Modelos / ModèlesRP6025▲Shower FlangePestaña dela RogadoraColleretteRP6023▲Shower
RP196▲Trim Screws/Atornillos de Franja/Vis de FinitionT17038, T17238, T17238-H2O, T17438 & T17438-H2OModels / Modelos / Modèles11RP70173▲Showerhea
T17051, T17251, T17251-H2O, T17451 & T17451-H2OModels / Modelos / Modèles12RP62283▲ShowerheadCabeza de RogadoraPomme de DoucheRP70171▲ShowerheadCa
T17053, T17253, T17253-H2O, T17453 & T17453-H2O Models / Modelos / Modèles13RP62956▲Temperature Knob and CoverPerilla de la Temperatura y Cubierta
Installation1Cartridge InstallationA.B.Turn off water supplies. Removecover (1), bonnet nut (2) and test cap (3)from the body. If this is not a thi
T17061, T17261 & T17461 Models / Modelos / ModèlesRP70175▲ShowerheadCabeza de RogadoraPomme de DoucheRP6023▲Shower ArmBrazo de la RogadoraTuyau de
15RP64859▲ShowerheadCabeza de RogadoraPomme de DoucheRP6023▲Shower ArmBrazo de la RogadoraTuyau de Pomme de DoucheRP6025▲Shower FlangePestaña dela Rog
16RP75440▲Temperature Knob and CoverPerilla de la Temperatura y CubiertaPoigneé de Réglage de TempératureShowerhead▲Cabeza de RogadoraPomme de DoucheR
T17078, T17278, T17278-H2O, T17478 & T17478-H2OModels / Modelos / Modèles17RP51305▲ShowerheadCabeza de RogadoraPomme de DoucheRP70172▲ShowerheadCa
T17082, T17085, T17282, T17285, T17285-H2O,T17482, T17485 &T17485-H2O Models / Modelos / Modèles18RP48590▲ShowerheadCabeza de RogadoraPomme de Dou
T17086, T17286, T17286-H2O, T17486 & T17486-H2OModels / Modelos / Modèles19RP70171▲ShowerheadCabeza de RogadoraPomme de DoucheRP46870▲Shower ArmBr
RP61269▲Tub Spout/Pull-Up DiverterTubo de Salida para Bañera/Botón Desviador de AlzarBec/avec dérivation à tiretteT17092, T17292 & T17492 Models /
T17094, T17194, T17294, T17294-H2O, T17494 & T17494 -H2O Models / Modelos / Modèles21RP70173▲ShowerheadCabeza de RogadoraPomme de DoucheRP6023▲S
T17097, T17297 & T17497 Models / Modelos / Modèles RP40593▲Shower ArmBrazo de la RogadoraTuyau de Pomme de Douche22RP70172▲ShowerheadCabeza de Rog
23RP42572▲Temperature Knob and CoverPerilla de la Temperatura y CubiertaPoigneé de Réglage de TempératureRP32102Rotational Limit StopTope para Limitar
58045Installation2Showerhead and Tub Spout InstallationA.FOR SHOWERHEAD INSTALLATION: Connect topoutlet (1) to shower arm (2) with proper fittings. Top
T17155, T17255, T17255-H2O, T17455 & T17455-H2OModels / Modelos / Modèles24RP34355▲ShowerheadCabeza de RogadoraPomme de DoucheRP
Notes / Notas / Notes2568882 Rev. G
Delta Faucet CompanyProduct Service55 E. 111th StreetIndianapolis, IN 4628068882 Rev. G www.deltafaucet.com
Installation52Showerhead and Tub Spout InstallationFOR TUB SPOUT INSTALLATION:Refer to the installation instructions supplied with your spout. Do not
Installation36Trim InstallationA. B.Escutcheon Installation forModels T17053, T17253, T17453, T17067, T17267 & T17467.Slide O
Installation4Installation and Adjustment of the Rotational Limit StopA.B.Place the temperature control knob (1) onvolume handle and rotate to the mixe
Clean and CareCare should be given to the cleaningof this product. Although its finish isextremely durable, it can be damaged byharsh abrasives or poli
Instrucciones para laInstalación del Accesoriopara Válvulas MultiChoice®Manual para losPropietarios17 SeriesASME A112.18.1 / CSA B125.1Escriba aquí el
More documents for Recording Equipment Delta A Series


Related products and manuals for Recording Equipment Delta A Series
 (12 pages)
© 2020, manymanuals.com. All rights reserved. | 5.350 s |
 Manymanuals.com
 Manymanuals.de
 Manymanuals.fr
 Manymanuals.it
 Manymanuals.pl
 Manymanuals.cz
 Manymanuals.es
 Manymanuals-pt.com
Comments to this Manuals