Delta 1980T-AR-DST Installation Guide
Browse online or download Installation Guide for Sanitary ware Delta 1980T-AR-DST. Delta 1980T-AR-DST Installation Guide User Manual
- Page / 16
- Table of contents
- BOOKMARKS
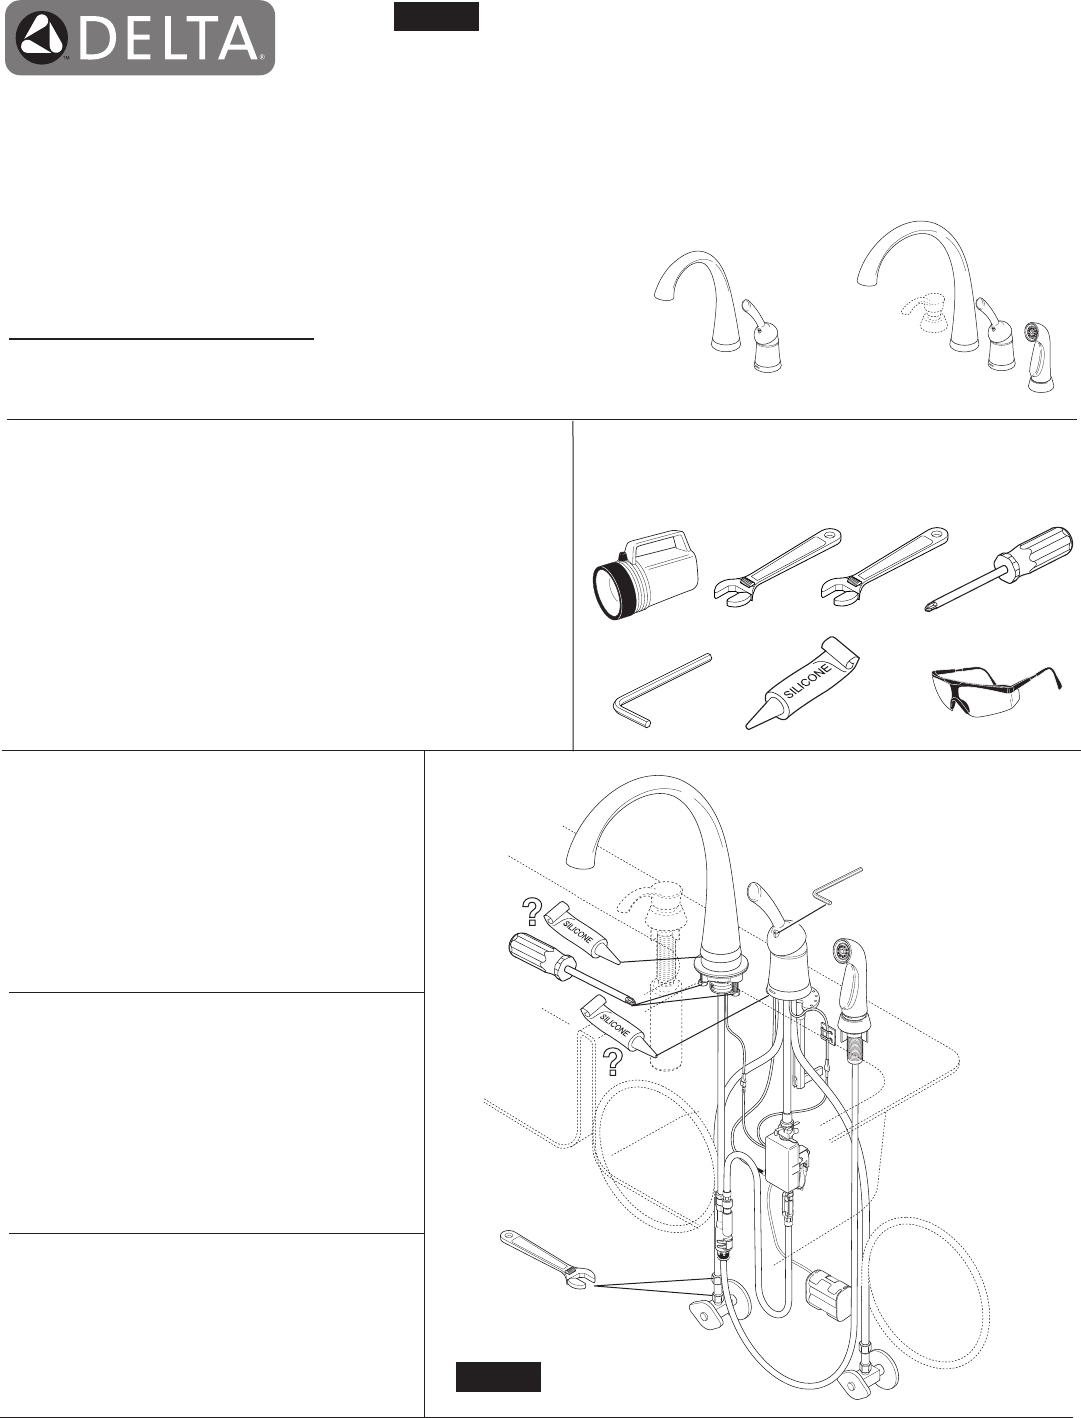
- Models/Modelos/Modèles 1
- 4380T-DST & 1980T-DST 1
- Series/Series/Seria 1
- 63585 Rev. E 2
- 1980T-DST 3
- 4380T-DST 3
- O-Rings (3) 4
- Anillos O (3) 4
- Joints torique (3) 4
- 53442 Rev B 10
- Soap Dispenser Installation 13
- Indications de piles faibles 15
- Maintenance 15
- Low Battery Indication 15
- Mantenimiento 15
- Entretien 15
Summary of Contents
1Models/Modelos/Modèles4380T-DST & 1980T-DST Series/Series/SeriaSILICONETEFLON2/9/12 Rev. EASME A112.18.1 / CSA B125.1ACC / ANSI A117.1SINGLE L
41. Insert ferrule (1) into cold water stop.2. Thread on check valve (2) and tighten (do not overtighten). Continue instructions on page 2.Importa
1163585 Rev. EE. Custom Fit ConnectionsIf you determine the PEX supply tubing for this faucet is too long and must be shorter to create an acceptabl
1263585 Rev. E Custom Fit Connections - Plastic Sleeve Installation Instructions 1. Identify desired length of tube (1). Leave 1" - 2" of
12F. Remove aerator (1) using supplied wrench (2) and move faucet handle (3) to the full on mixed position. Turn on hot and cold water supplies (4) an
1463585 Rev. EThis faucet includes an integrated handle limit stop that has two positions. Position 1, to the left, allows full handle motion (the f
1563585 Rev. E6571/8"128B1. Cleaning the Screen 3344parts, make sure bonnet nut (6) is tightened securely with a wrench.*If faucet leaks from
1663585 Rev. ESolenoid TroubleshootingNote: Normal operation of the faucet will turn off water flow if faucet is not touched for 4 minutes.1. If you
263585 Rev. E© 2012 Masco Corporation of IndianaAll parts and finishes of the Delta® faucet are warranted to the original consumer purchaser to be f
RP47030Nut & Wrench,Tuerca y LlaveÉcrou et clé, 363585 Rev. ERP60619Mounting Nut AssemblyEnsamble de la Tuerca de InstalaciónÉcrou de montageRP6
s Specify Finish Especifíque el Acabado Précisez le finiRP50781s Soap Dispenser (Purchased Separately)Dispensador de jabón. (Compre por separad
11563585 Rev. E2774136C.C. SHUT OFF WATER SUPPLIES. Place gasket (1) into groove of spout base (2). Slide gasket and base over tube, wire and spout s
163585 Rev. E621039C.54Under Mount Sinks / Instalación por Debajo / Sous le bâti671C. SHUT OFF WATER SUPPLIES. Place gasket (1) into groove of spout
2B. Slide the gasket (1) up over tubes, mounting stud and wires of valve assembly, then install into groove in base (2). Feed tubes and wire down thro
863585 Rev. ED. Slide hose assembly (1) onto the solenoid nipple (2). Install clip (3) over hose (1) and nipple (2) to secure connection. Pull down
A. For this step, use the bag marked “3” plus the other part(s) shown above. Note: Bag 3 contents vary by model. Bag as shown has trim kit for side s
Related products and manuals for Sanitary ware Delta 1980T-AR-DST


 (25 pages)
 (6 pages)
© 2020, manymanuals.com. All rights reserved. | 0.441 s |
 Manymanuals.com
 Manymanuals.de
 Manymanuals.fr
 Manymanuals.it
 Manymanuals.pl
 Manymanuals.cz
 Manymanuals.es
 Manymanuals-pt.com
Comments to this Manuals