Page 5
203910
Rev.A
FOR RECESS MOUNT HOUSING: CONTROL BOXES #1, 6, 8.
STEP 6. SERVICES
Open screwdriver stop(s).
Flush line.
Install aerator.
STEP 7. TEST FOR OPERATION
Test for operation. If unit does not work properly, see Trouble Shooting Guide on
page 6.
STEP 8. MAKING ADJUSTMENTS
(If adjustments are required. Note factory defaults for program shown in Quick
Reference Chart.) Otherwise replace the driver board housing cover as the
electronic product is ready for use.
INSTALLATION AND SET UP INSTRUCTIONS
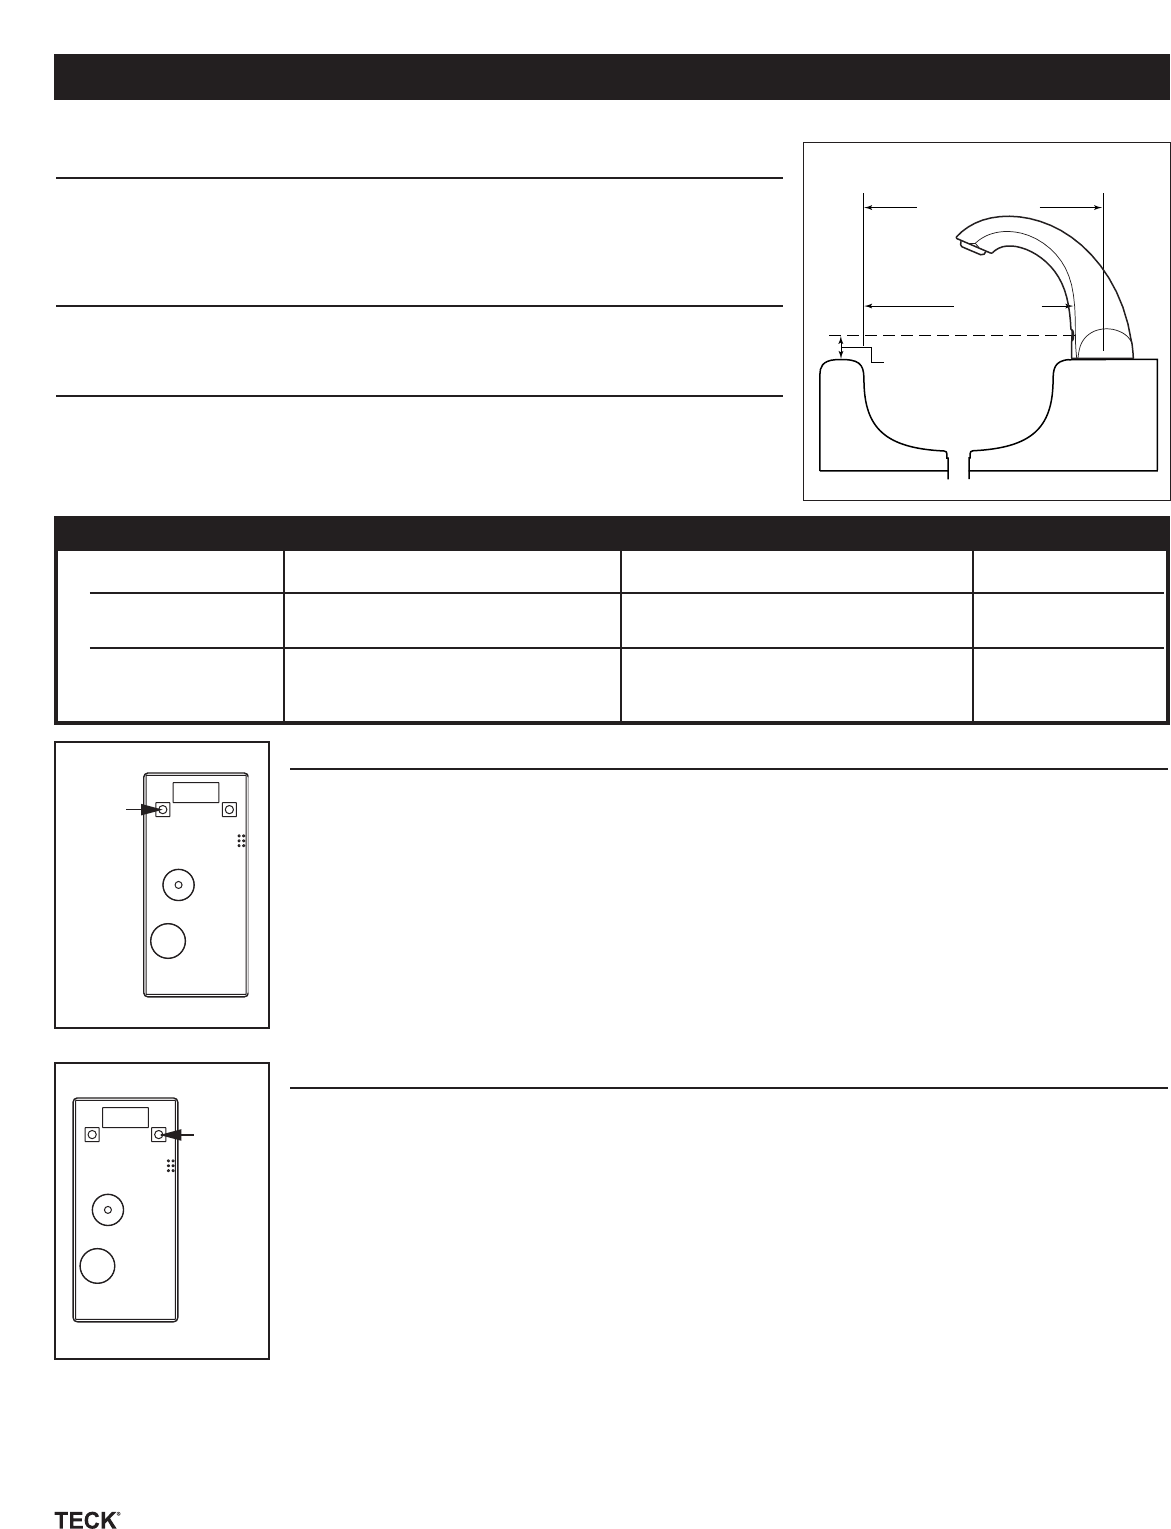
Selection Adjustment Description Factory Default Setting Adjustment Range
Sensor Range You can set the distance at which the 9" from sensor 3" to 15" from sensor
sensor will detect hands in the wash area.
Auto Timer A safety mode in the event the sensor 45 seconds 15, 30, 45, 60 and
(faucet shut-off) continually sees a target. 75 seconds
DRIVER BOARD QUICK REFERENCE CHART
AUTO TIMER (FAUCET SHUT-OFF)
Auto Timer is a safety mode in the event the sensor continually sees a target (ie. tape on
the sensor). In this case the faucet will stop after the pre-determined time period expires.
The Auto Timer values are 15, 30, 45, 60 and 75 seconds. The Auto Timer default value is
45 seconds.
To adjust the Auto Timer feature, press and release the yellow pushbutton on the left
hand side of the digital light display. The current Auto Timer setting will then appear on
the light display. Press and release the same pushbutton continuously to scan through
the variable time periods (which are displayed as seconds on the digital light display). To
return to operation mode, do nothing for 5 seconds.
SENSOR RANGE (3-15”)
The sensor range is the maximum distance at which the user is detected. The sensor
range includes 3”, 6”, 9”, 12” and 15”. The sensor range default value is 9”. Note: Sensor
ranges ±1” subject to environmental conditions.
To adjust the sensor range value, press and release the yellow pushbutton on the right
hand side of the digital light display. The current Sensor Range setting will then appear
on the light display. Press and release the same pushbutton continuously to scan through
the variable sensor ranges (which are displayed as inches on the digital light display).
To return to operation mode, do nothing for 5 seconds.
If you have any questions about the installation of this product or need help trouble
shooting this product please call Delta Commercial Technical Services at
1-800-387-8277.


 (2 pages)
 Manymanuals.com
 Manymanuals.de
 Manymanuals.fr
 Manymanuals.it
 Manymanuals.pl
 Manymanuals.cz
 Manymanuals.es
 Manymanuals-pt.com
Comments to this Manuals