Delta DC-580 20" PLANER 22-450 User Manual
Browse online or download User Manual for Tools Delta DC-580 20" PLANER 22-450. Delta DC-580 20" PLANER 22-450 User Manual
- Page / 24
- Table of contents
- BOOKMARKS
- DC-580 20" Planer 1
- TABLE OF CONTENTS 2
- IMPORTANT SAFETY INSTRUCTIONS 2
- CALIFORNIA PROPOSITION 65 3
- GENERAL SAFETY RULES 4
- FUNCTIONAL DESCRIPTION 6
- CARTON CONTENTS 7
- ASSEMBLY 7
- UNPACKING AND CLEANING 8
- ASSEMBLING CUTTERHEAD GUARD 9
- ASSEMBLING DUST HOOD 9
- ELECTRICAL CONNECTIONS 10
- OPERATION 11
- FEED ROLLER SPEEDS 12
- TABLE ROLLERS 13
- CHECKING AND ADJUSTING TABLE 13
- ROLLER HEIGHT 13
- ANTI-KICKBACK FINGERS 14
- AND REPLACING KNIVES 17
- CHECKING, RESETTING 17
- CONSTRUCTING GAGE BLOCK 18
- ADJUSTING CHIPBREAKERS 18
- ADJUSTING PRESSURE BAR 19
- ADJUSTING OUTFEED ROLLER 19
- ADJUSTING INFEED ROLLER 20
- LEVELING THE TABLE 21
- ADJUSTING TABLE HEIGHT SCALE 21
- TROUBLESHOOTING 22
- MAINTENANCE 22
- ACCESSORIES 23
- WARRANTY 23
- • DELTA SERVICE CENTERS 24
- • DELTA) 24
Summary of Contents
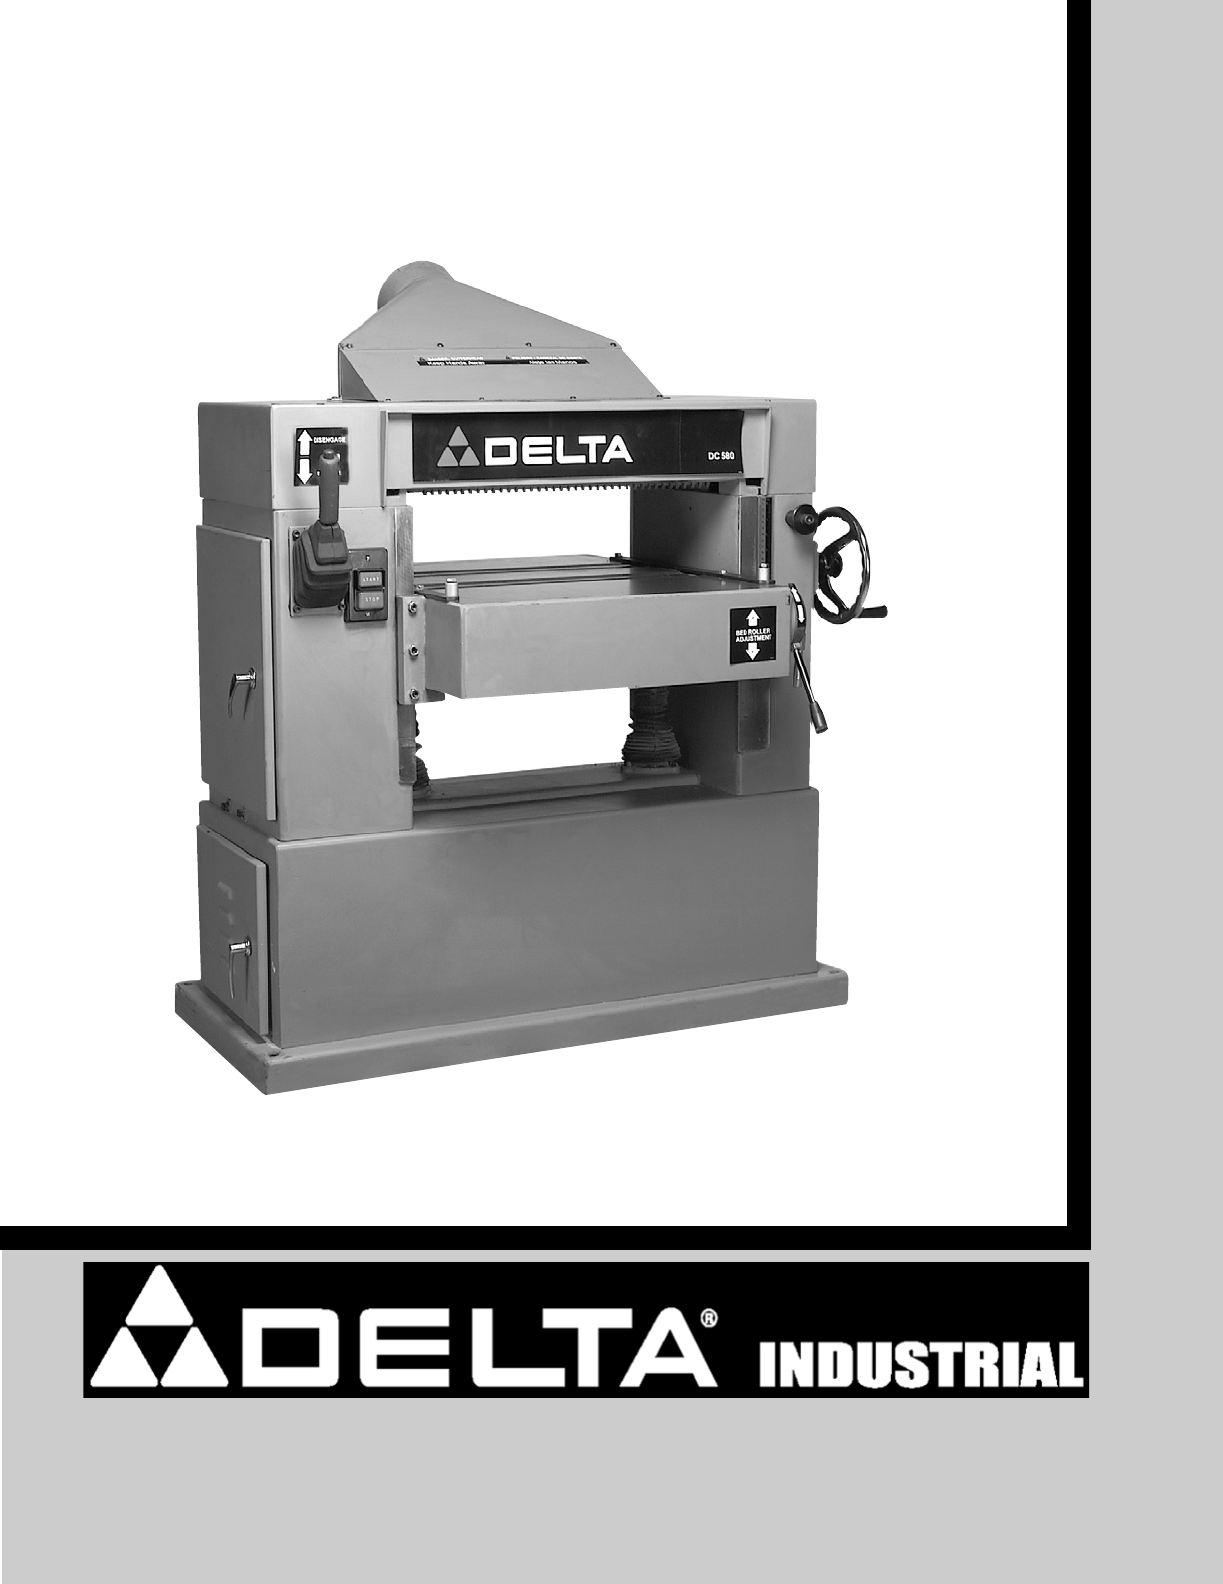
INSTRUCTION MANUALDC-580 20" Planer(Model 22-450, Three Phase)(Model 22-451, Single Phase)PART NO. 1349960 - 06-02-05Copyright © 2005 Delta Machi
10To bring power to this machine:Loosen screw (A) Fig. 10, and remove cover (B) fromterminal box located at the rear of the machine. Bring thepower li
11Fig. 13Fig. 14RAISING AND LOWERING TABLEAdjust the table height by loosening lock knob (A) Fig.15, and rotating table adjusting handwheel (B). To ra
12Fig. 17Fig. 16Fig. 19Fig. 20Fig. 18FEED ROLLER SPEEDSYour planer is equipped with feed roller speeds of 20and 30 feet per minute depending on belt p
13TABLE ROLLERSYour planer is supplied with two table rollers (A) Fig. 21,which aid in feeding the stock by reducing friction be-tween the stock and t
14Fig. 256. To check the height of the outfeed table roller, proceedas follows: with a feeler gage (B) Fig. 25, measure the gapbetween the table surfa
15CHECKING AND ADJUSTING DRIVE BELT TENSIONProper belt tension is when there is approximately 1/4" deflection, using light finger pressure on the
16Fig. 30CHECKING AND ADJUSTING FEED ROLLER BELT TENSIONProper tension on the feed roller belt is obtained when there is approximately 1/2" defle
Fig. 33Fig. 34Fig. 35CHECKING, RESETTINGAND REPLACING KNIVESWhen checking, resetting and replacing knives, proceedas follows:1. DISCONNECT MACHINE FRO
18Fig. 36Fig. 37Fig. 38Fig. 39CONSTRUCTING GAGE BLOCKIn order to check and adjust the height of the chipbreaker,pressure bar, infeed and outfeed rolle
19Fig. 40Fig. 41Fig. 42Fig. 43ADJUSTING PRESSURE BARThe pressure bar is located directly behind the cutterheadand rides on the planed surface of the s
2TABLE OF CONTENTSRead and understand all warnings and operating instructions before using any tool or equipment. Whenusing tools or equipment, basic
204. Place gage block (A) Fig. 44, under outfeed roller (D).The bottom of roller (D) should just touch gage block (A).5. If an adjustment is necessary
21Fig. 49Fig. 50Fig. 51Fig. 53Fig. 52LEVELING THE TABLEThe table is set parallel to the cutterhead at the factoryand no further adjustment should be n
22ADJUSTING TABLE GIBSIn the unlikely event of the table developing unwantedmovement during planing operations, the table can bechecked and adjusted a
23Fig. 55BALUBRICATING WORK SURFACESApply household floor paste wax to the machine table andextension table or other work surface weekly.LUBRICATING T
The following are trademarks of PORTER-CABLE •DELTA (Las siguientes son marcas registradas de PORTER-CABLE • DELTA S.A.) (Les marquessuivantes sont de
3Indicates an imminently hazardous situation which, if not avoided, will result in death or serious injury.Indicates a potentially hazardous situation
4GENERAL SAFETY RULESREAD AND UNDERSTAND ALL WARNINGS AND OPERATING INSTRUCTIONS BEFOREUSING THIS EQUIPMENT. Failure to follow all instructions listed
ADDITIONAL SPECIFIC SAFETY RULESSAVE THESE INSTRUCTIONS. Refer to them often and use them to instruct others.1. DO NOT OPERATE THIS MACHINE until it
66FOREWORDFUNCTIONAL DESCRIPTIONNOTICE: THE PHOTO ON THE MANUAL COVER ILLUSTRATES THE CURRENT PRODUCTIONMODEL. ALL OTHER ILLUSTRATIONS CONTAINED IN T
77UNPACKING AND CLEANINGCarefully unpack the machine and all loose items from the shipping container(s). Remove the protective coating fromall unpaint
8Fig. 4Fig. 5Fig. 6UNPACKING AND CLEANINGRemove the bolts that fasten the machine to theshipping skid.Two lifting lugs are built into the machine, one
9ASSEMBLING CUTTERHEAD GUARDPosition cutterhead guard (A) Fig. 7, on top cover ofmachine. Align holes in cutterhead guard (A) Fig. 7, withholes in top
Related products and manuals for Tools Delta DC-580 20" PLANER 22-450
 (15 pages)
(1 pages)
(15 pages)
(1 pages)

 (8 pages)
(1 pages)
(1 pages)
(8 pages)
(8 pages)
(24 pages)
(2 pages)
(78 pages)
(2 pages)
(9 pages)
(40 pages)
(51 pages)
(12 pages)
(16 pages)
(60 pages)
(24 pages)
(1 pages)
(8 pages)
(1 pages)
(1 pages)
(8 pages)
(8 pages)
(24 pages)
(2 pages)
(78 pages)
(2 pages)
(9 pages)
(40 pages)
(51 pages)
(12 pages)
(16 pages)
(60 pages)
(24 pages)
(1 pages)
© 2020, manymanuals.com. All rights reserved. | 1.421 s |
 Manymanuals.com
 Manymanuals.de
 Manymanuals.fr
 Manymanuals.it
 Manymanuals.pl
 Manymanuals.cz
 Manymanuals.es
 Manymanuals-pt.com
Comments to this Manuals