Delta 31-140 Operations Instructions Page 1
Browse online or download Operations Instructions for Power sanders Delta 31-140. Delta 31-140 Operating instructions User Manual
- Page / 40
- Table of contents
- BOOKMARKS
- Dust collectIoN 1
- TABLE OF CONTENTS 2
- IMPORTANT SAFETY INSTRUCTIONS 2
- GENERAL SAFETY RULES 3
- SAVE THESE INSTRUCTIONS 4
- POWER CONNECTIONS 5
- MOTOR SPECIFICATIONS 5
- GROUNDING INSTRUCTIONS 5
- KEY FEATURES AND COMPONENTS 6
- PRODUCT SPECIFICATIONS 7
- FUNCTIONAL DESCRIPTION 7
- UNPACKING 7
- ASSEMBLY 8
- OPERATION 10
- ADJUSTMENTS 11
- RECOMMENDED MAINTENANCE 12
- ACCESSORIES 12
- WARRANTY 12
- REPLACEMENT PARTS 13
- SERVICE AND REPAIRS 13
- RÈGLES DE SÉCURITÉ GÉNÉRALES 15
- CONSERVER CES CONSIGNES 16
- RACCORDEMENTS 17
- SPÉCIFICATIONS DU MOTEUR 17
- CONSIGNES DE MISE À LA TERRE 17
- RALLONGES 18
- SPÉCIFICATIONS DU PRODUIT 19
- DESCRIPTION FONCTIONNELLE 19
- DÉBALLAGE 19
- ASSEMBLAGE 20
- FONCTIONNEMENT 21
- AJUSTEMENTS 23
- ACCESSOIRES 24
- GARANTIE 24
- RECOMMANDATIONS D’ENTRETIEN 24
- PIÈCES DE RECHANGE 25
- SERVICE ET RÉPARATIONS 25
- REGLAS GENERALES DE SEGURIDAD 27
- GUARDE ESTAS INSTRUCCIONES 28
- CONEXIONES DE ALIMENTACIÓN 29
- ESPECIFICACIONES DEL MOTOR 29
- ALARGADORES ELÉCTRICOS 30
- ESPECIFICACIONES DEL PRODUCTO 31
- DESCRIPCIÓN FUNCIONAL 31
- DESEMBALAJE 31
- OPERACIÓN 33
- GUÍA DE INGLETE 35
- DISCO ABRASIVO 35
- MANTENIMIENTO RECOMENDADO 36
- ACCESORIOS 36
- GARANTÍA 36
- PIEZAS DE REPUESTO 37
- 5530 Airport Road 40
- Anderson, SC 29626 40
- (800) 223-7278 40
Summary of Contents
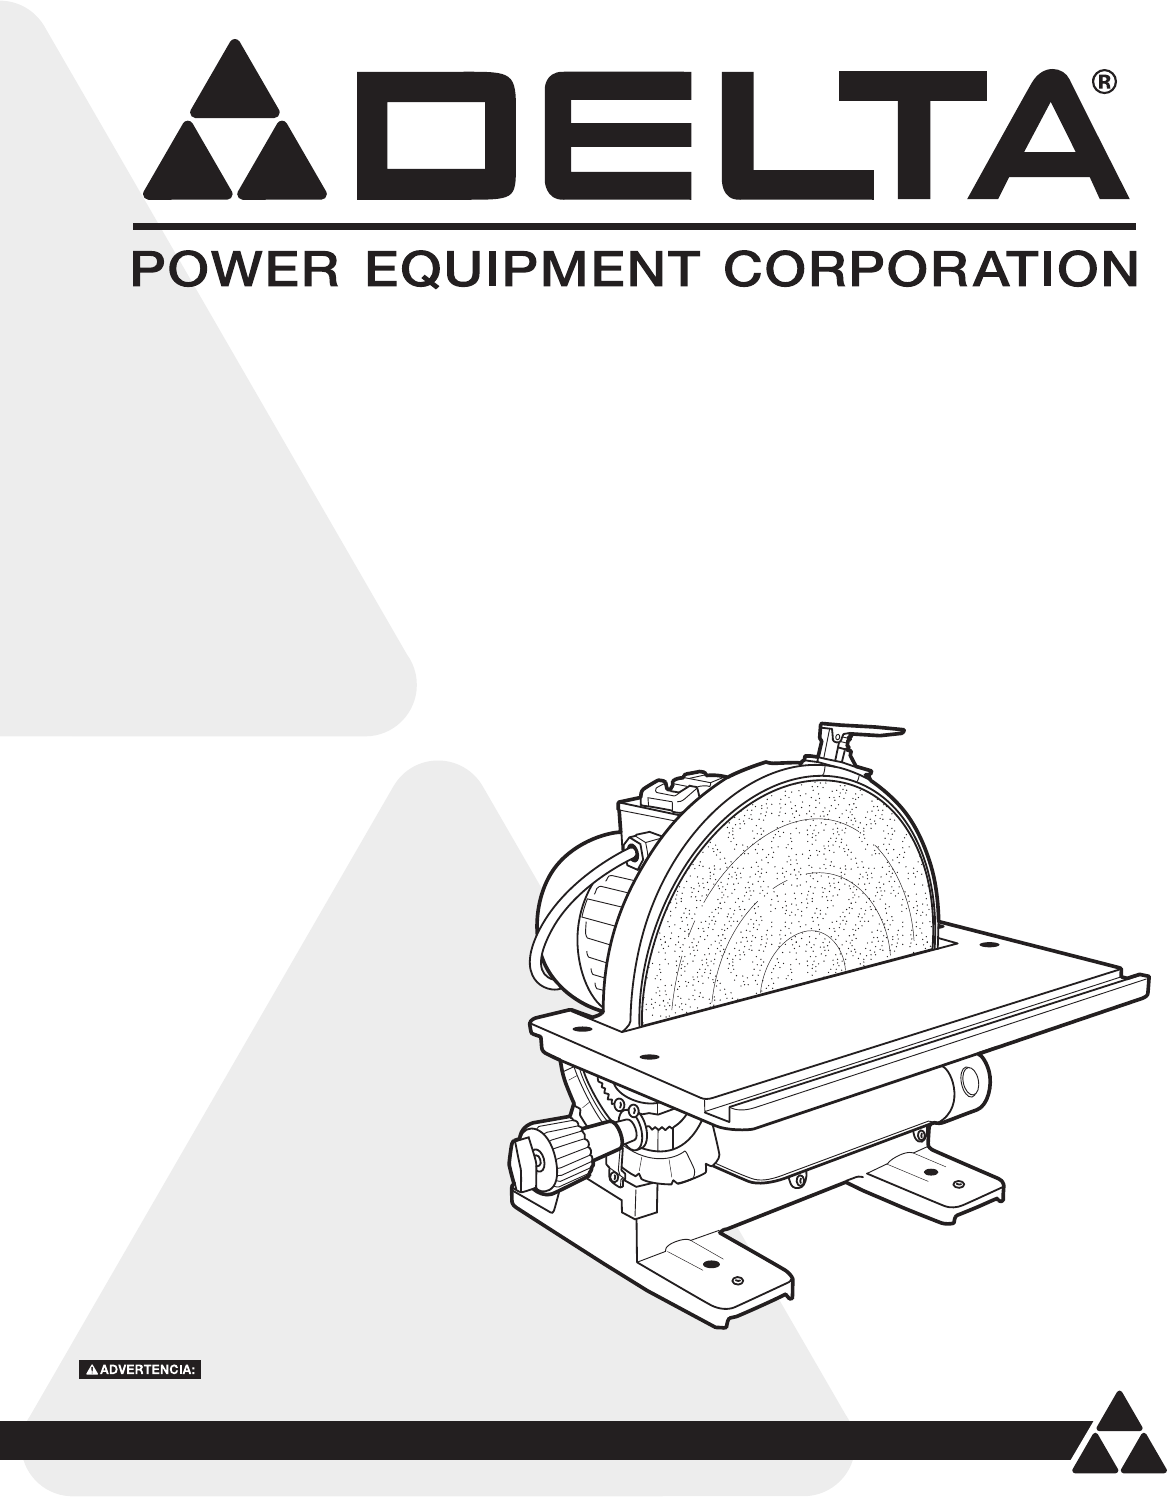
31-140Lijadora de disco de 30,50 cm con recolector de polvo integradoPonceuse à disque de 30,5 cm avec dispositif de dépoussiérage intégréOperating In
10OPERATIONANGLED AND END SANDING USING THE MITER GAUGEThe majority of work performed on the DELTA® 12” Disc Sander is usually accomplished using the
11ADJUSTMENTSADJUSTING MITER GAGE SLOT ALIGNMENTMake certain machine is disconnected from power source before making adjustments.• Check to see if th
12RECOMMENDED MAINTENANCENOTE: Disconnect machine from power source before performing any maintenance.LUBRICATION All bearings are sealed and permanen
13PARTS, SERVICE OR WARRANTY ASSISTANCEAll DELTA® Machines and accessories are manufactured to high quality standards and are serviced by a network of
14CONSIGNES DE SÉCURITÉ IMPORTANTESCONSIGNES DE SÉCURITÉ - DÉFINITIONS ASSUREZ-VOUS D’AVOIR BIEN LU ET COMPRIS TOUT
15 LE NON-RESPECT DE CES RÈGLES PEUT ENTRAÎNER DES BLESSURES GRAVES. RÈGLES DE SÉCURITÉ GÉNÉRALES LE NON-RESPECT DE CES RÈGLES PEUT ENTRAÎNER DES BLES
16CONSERVER CES CONSIGNES.Consultez-les souvent et utilisez-les pour enseigner aux autres.prévue. Vérifiez l’alignement des pièces mobiles et leurs jo
17FIG. A FIG. BBOÎTE DE COURANT DE MISE À LA TERREBROCHES PORTEUSES DE COURANTLA BROCHE DE MISE À LA TERRE EST LA PLUS LONGUE DES TROISBOÎTE DE COURA
18CARACTÉRISTIQUES ET COMPOSANTES IMPORTANTESRALLONGESUtiliser des rallonges appropriées. S’assurer que la rallonge est en bon état et qu’il s’agit d’
19SPÉCIFICATIONS DU PRODUITDESCRIPTION FONCTIONNELLEDÉBALLAGEL’appareil est lourd, soyez prudent lorsque vous le retirez de l’emballage d’expédition!
2TABLE OF CONTENTSIMPORTANT SAFETY INSTRUCTIONS ...2SAFETY GUIDELINES - DEFINITIONS ...
20ASSEMBLAGEFIGURE 2INSTALLATION DE L’ENSEMBLE DE LEVIER DE FREIN• Référez-vous à la Figure 2 et retirez les 2 vis à 6 pans (A) du support de disque
21FONCTIONNEMENT DÉMARRAGE ET ARRÊT DE LA PONCEUSELe fait de ne pas lire et comprendre les instructions, les avertissements et les consignes de sécuri
22FONCTIONNEMENT UTILISATION DU GUIDE À ONGLETS POUR LE PONÇAGE INCLINÉ ET LE PONÇAGE DE BOIS DE BOUTLa plupart des travaux accomplis avec la ponceuse
23AJUSTEMENTSRÉGLAGE DE L’ALIGNEMENT DE LA RAINURE POUR GUIDE À ONGLETSAssurez-vous que l’appareil est débranché avant de réaliser les réglages.• Vér
24ACCESSOIRESUne gamme complète d’accessoires peut être obtenue auprès de votre fournisseur DELTAMD , des centres de service du fabricant DELTAMD, des
25AIDE POUR LES PIÈCES, LE SERVICE OU LA GARANTIETous les appareils et accessoires DELTAMD sont fabriqués selon des normes de qualité élevées et sont
26INSTRUCCIONES IMPORTANTES DE SEGURIDADNORMAS DE SEGURIDAD: DEFINICIONESLEA Y COMPRENDA TODAS LAS ADVERTENCIAS E INSTRUCCIONES DE OPERACIÓN ANTES DE
27NO OBSERVAR ESTAS REGLAS DE SEGURIDAD PUEDE OCASIONAR LESIONES GRAVES. REGLAS GENERALES DE SEGURIDADOBSERVAR ESTAS REGLAS DE SEGURIDAD PUEDE OCASION
28protectores o las otras piezas que estén dañados deben repararse o reemplazarse adecuadamente.17. Provea un espacio adecuado alrededor del área de t
29FIG. A FIG. BCAJA DE SALIDA CONECTADA A TIERRACLAVIJAS DE CONDUCCIÓN DE CORRIENTELA HOJA DE CONEXIÓN A TIERRA ES LA MÁS LARGA DE LAS TRES HOJASCAJA
3SAFETY GUIDELINES - DEFINITIONSThis manual contains information that is important for you to know and understand. This information relates to protect
30Utilice los alargadores eléctricos adecuados. Cerciórese de que los alargadores eléctricos estén en buenas condiciones y de que sean del tipo de ala
31Compare los artículos con los que aparecen en las figuras del inventario. Verifique que todas las piezas estén presentes antes de deshacerse de la c
32ASSEMBLAGEFIGURE 2INSTALACIÓN DEL CONJUNTO DE PALANCA DE FRENO• Consulte la Figura 2 y retire los 2 tornillos hexagonales (A) del compartimiento de
33OPERACIÓNINICIO Y DETENCIÓN DE LA LIJADORANo leer ni comprender las instrucciones, advertencias y directrices de seguridad provistas en este manual
34OPERACIÓNLIJADO DE ÁREAS ANGULOSAS Y DE BORDES CON GUÍA DE INGLETELa mayoría del trabajo realizado en la lijadora de disco de 30,50 cm DELTA® se log
35AJUSTESAJUSTE DE ALINEACIÓN DE LA RANURA DE LA GUÍA DE INGLETEAsegúrese de que la máquina esté desconectada del suministro de energía antes de reali
36Garantía de producto nuevo limitada a cinco añosDELTA® reparará o sustituirá, a su cargo y opción, cualquier nueva máquina, repuesto o accesorio de
37ASISTENCIA SOBRE GARANTÍA, SERVICIO O PIEZASTodas las máquinas y accesorios DELTA® están fabricados en cumplimiento de altos estándares de calidad y
38
414. Keep safety guards in place at all times when the machine is in use. If removed for maintenance purposes, use extreme caution and replace the gua
5530 Airport Road Anderson, SC 29626 (800) 223-7278 www.DeltaMachinery.comCopyright © 2011 DELTA® Power Equipment Corporation DPEC001142 - 2-9-12
5FIG. A FIG. BGROUNDED OUTLET BOXCURRENT CARRYING PRONGSGROUNDING BLADE IS LONGEST OF THE 3 BLADESGROUNDED OUTLET BOXGROUNDING MEANSADAPTERPOWER CONNE
6KEY FEATURES AND COMPONENTSEXTENSION CORDS Use proper extension cords. Make sure your extension cord is in good condition and is a 3-wire extension
7The machine is heavy, be careful when removing it from the shipping container! Failure to comply may cause serious injury and/or damage to the sander
8FIGURE 2ASSEMBLYINSTALL BRAKE LEVER ASSEMBLY• Refer to Figure 2 and remove the 2 hex screws (A) from the disc housing using the 2.5mm Allen wrench s
9OPERATIONSTARTING AND STOPPING SANDERFailure to read and understand the instructions, warnings and safety guidelines provided in this manual may lead
Related products and manuals for Power sanders Delta 31-140
 (40 pages)
 (24 pages)
(16 pages)
(20 pages)
(24 pages)
(16 pages)
(20 pages)
 (60 pages)
 (100 pages)
(23 pages)
(100 pages)
(23 pages)
 (82 pages)
(1 pages)
(21 pages)
(82 pages)
(1 pages)
(21 pages)
© 2020, manymanuals.com. All rights reserved. | 0.252 s |
 Manymanuals.com
 Manymanuals.de
 Manymanuals.fr
 Manymanuals.it
 Manymanuals.pl
 Manymanuals.cz
 Manymanuals.es
 Manymanuals-pt.com
Comments to this Manuals